> ## Documentation Index
> Fetch the complete documentation index at: https://docs.unvest.io/llms.txt
> Use this file to discover all available pages before exploring further.
# Create and deploy a vesting schedule
> Welcome to the tutorial on how to create a vesting round using Unvest. Before we begin, make sure you have connected your wallet and selected the correct network.
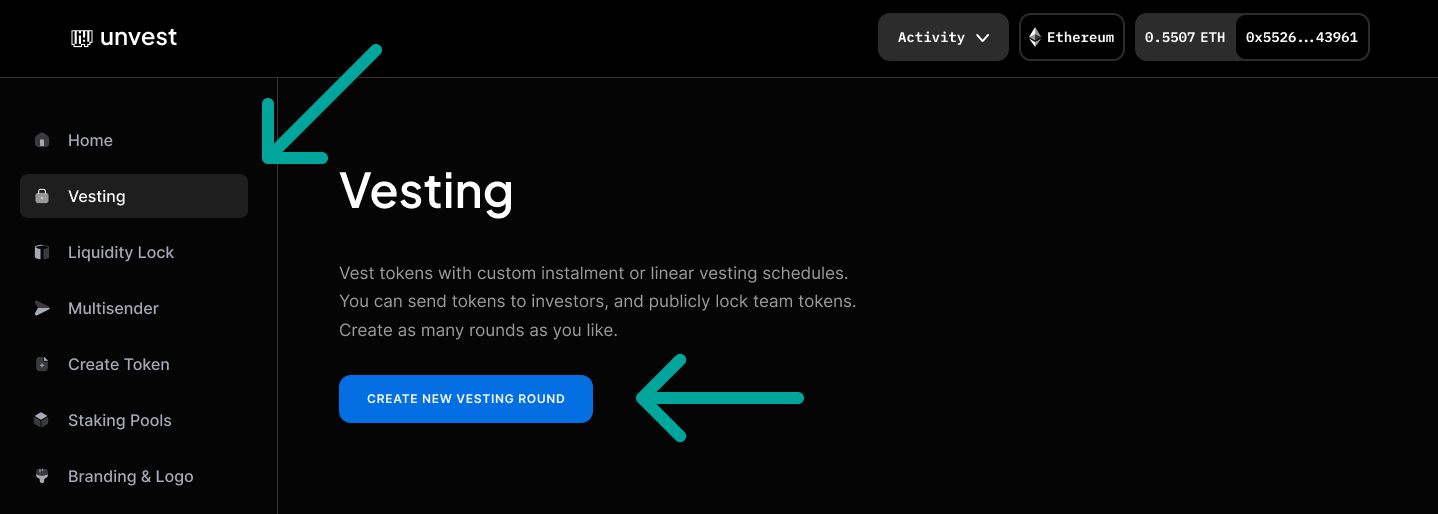
1. To create a new vesting round, go to the vesting page on your Project Dashboard and select "Create New Vesting Round".
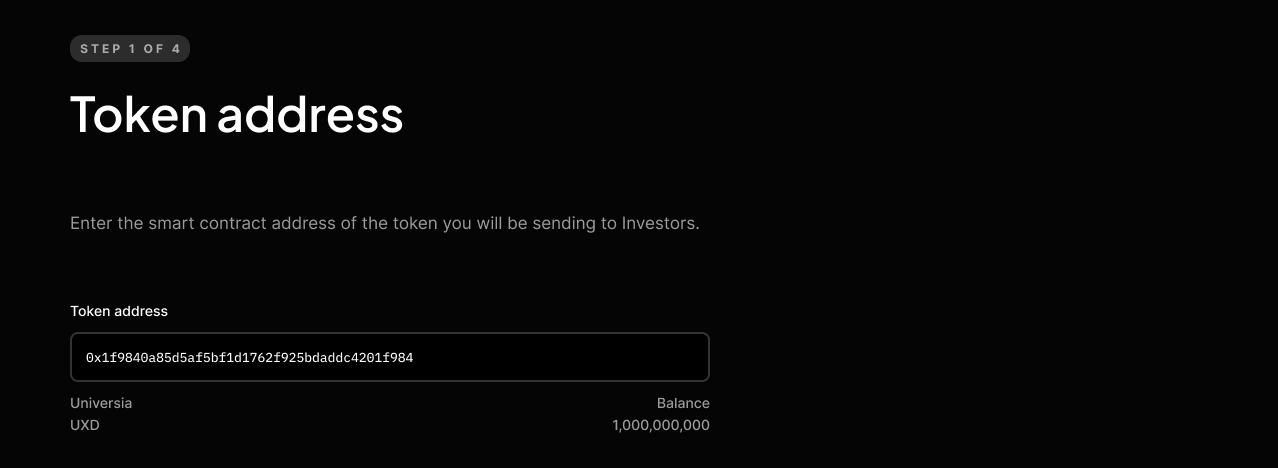
 2. You will be prompted to enter the smart contract address of the project token you wish to lock. This is the address of the ERC20 contract for your token.
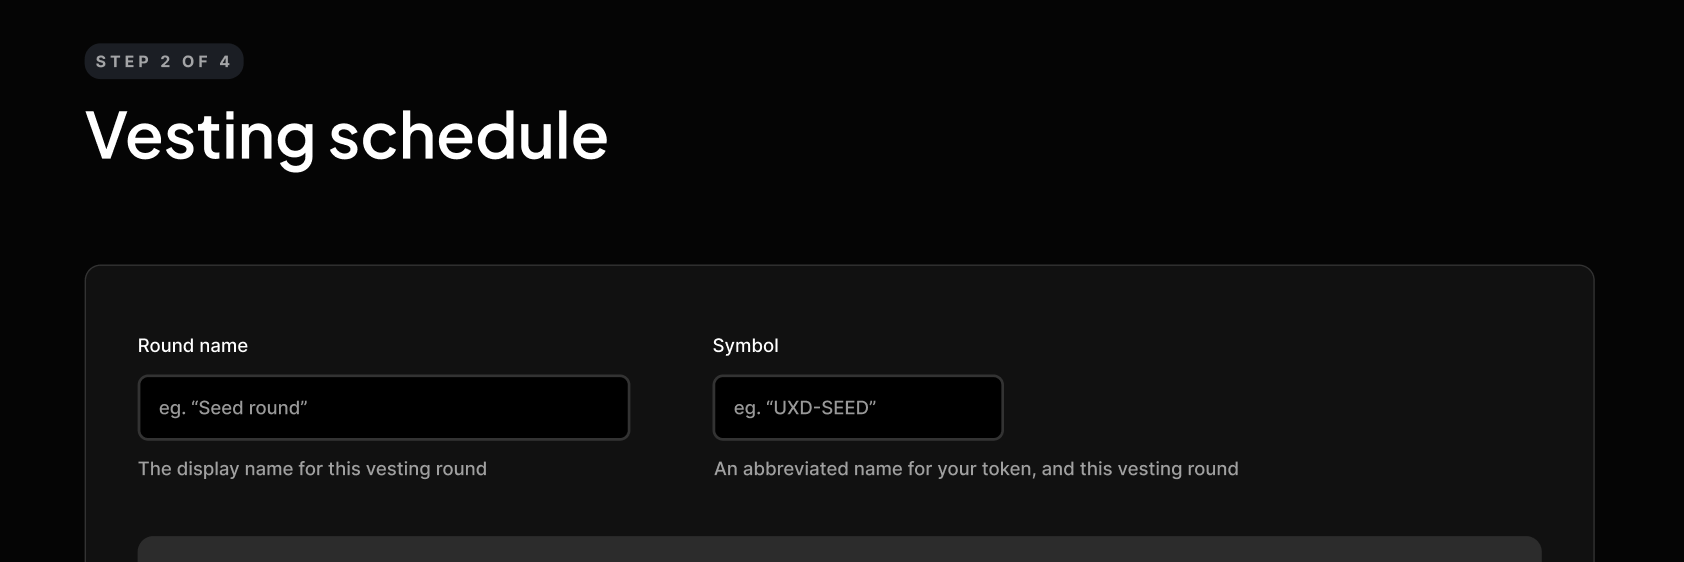
 3. Next, you will need to use the schedule editor to customize your vesting round. It is important to give your round a name and symbol, as this information will be publicly displayed and cannot be changed later.
\
**DO NOT** include your project name in your round name, the app will append your project name to the round name when displayed\
\
**DO** include your project token symbol in the round symbol, eg. if your token symbol is "FLT", and this is your seed round, use a symbol like "FLT-SEED"\
3. Next, you will need to use the schedule editor to customize your vesting round. It is important to give your round a name and symbol, as this information will be publicly displayed and cannot be changed later.
\
**DO NOT** include your project name in your round name, the app will append your project name to the round name when displayed\
\
**DO** include your project token symbol in the round symbol, eg. if your token symbol is "FLT", and this is your seed round, use a symbol like "FLT-SEED"\
 4. Next, choose a start date for your vesting schedule, which can be in the past or future. This represents when your vesting schedule begins, and it usually makes sense to set it to the current time.
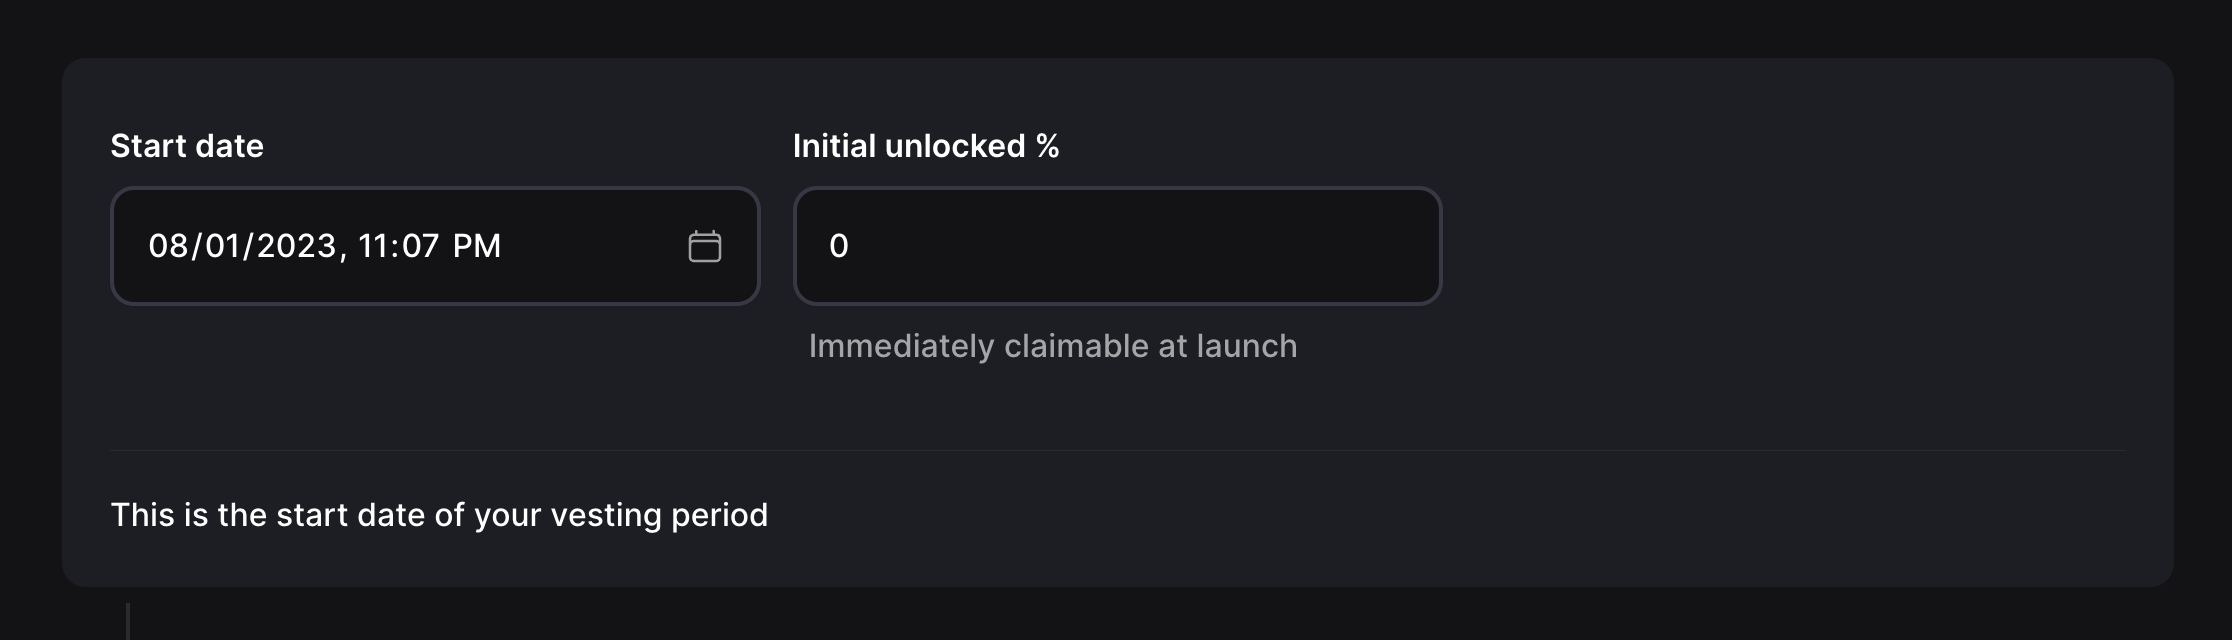 5. You can also choose an initial unlock percentage, which is the amount of tokens that are immediately claimable.
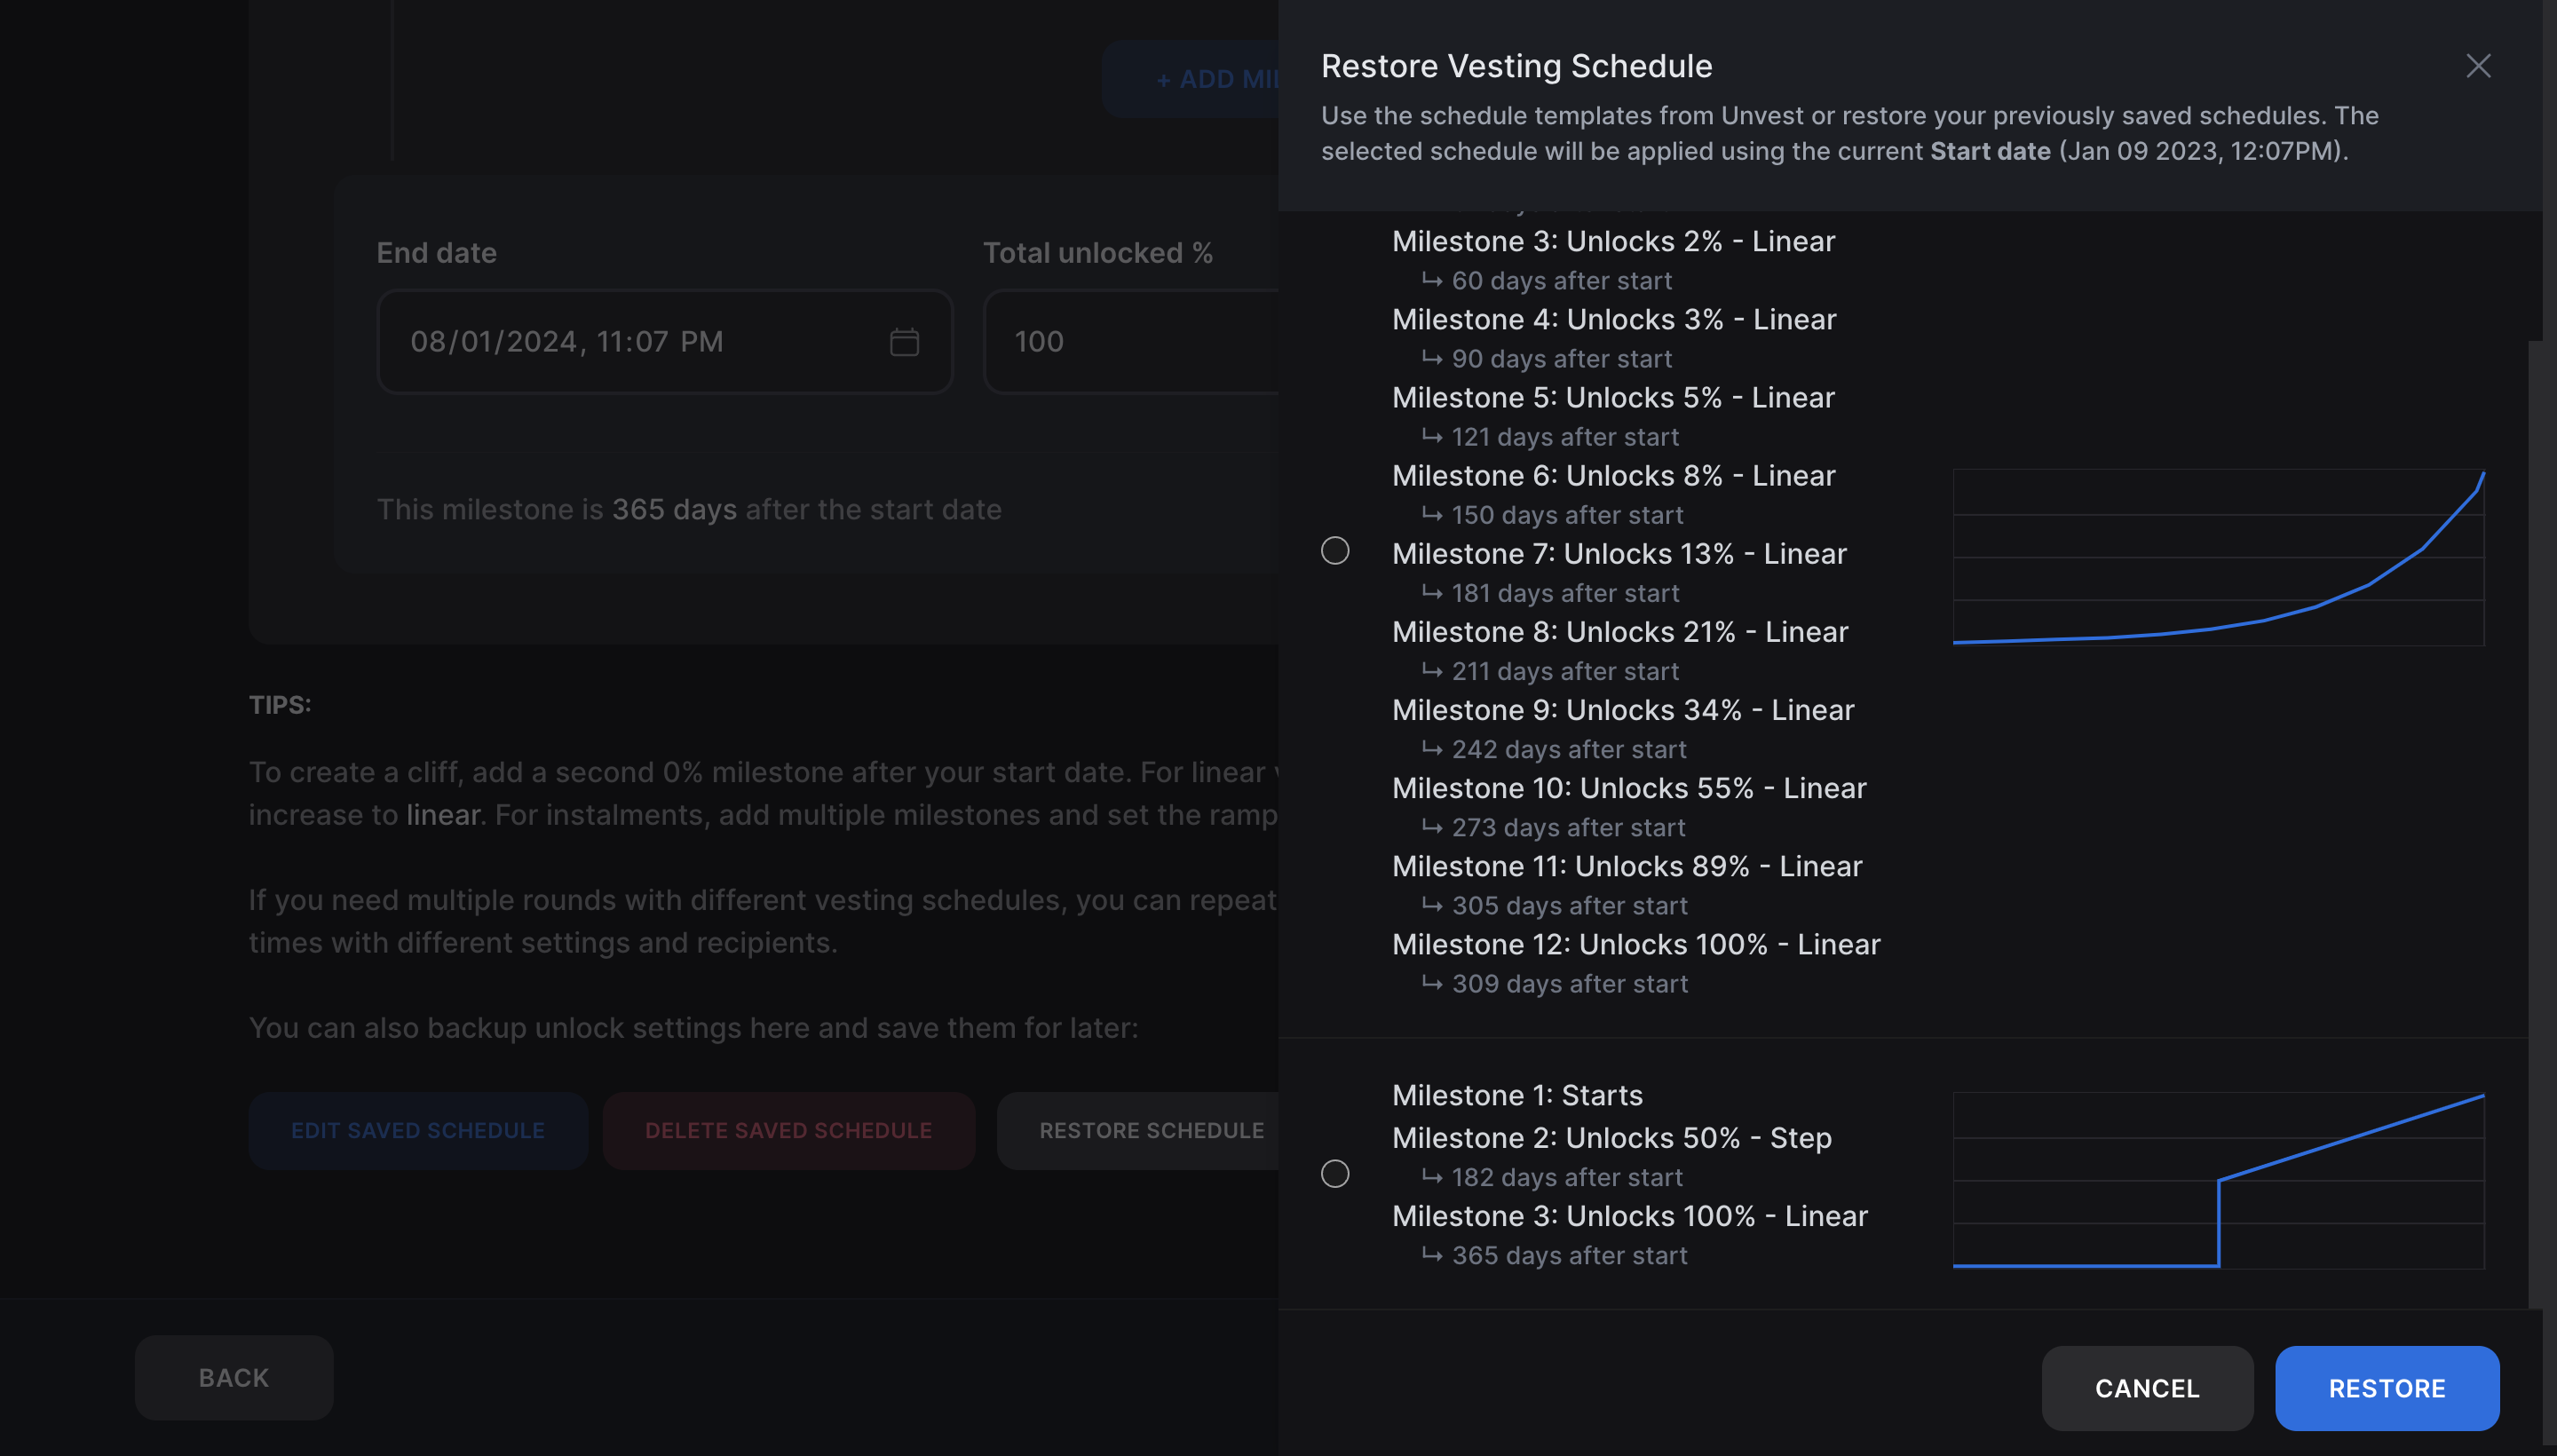
6. To customize your vesting schedule further, you can add milestones and select dates and step or linear ramps for each milestone. Alternatively, you can restore a template you have saved earlier.
5. You can also choose an initial unlock percentage, which is the amount of tokens that are immediately claimable.
6. To customize your vesting schedule further, you can add milestones and select dates and step or linear ramps for each milestone. Alternatively, you can restore a template you have saved earlier.
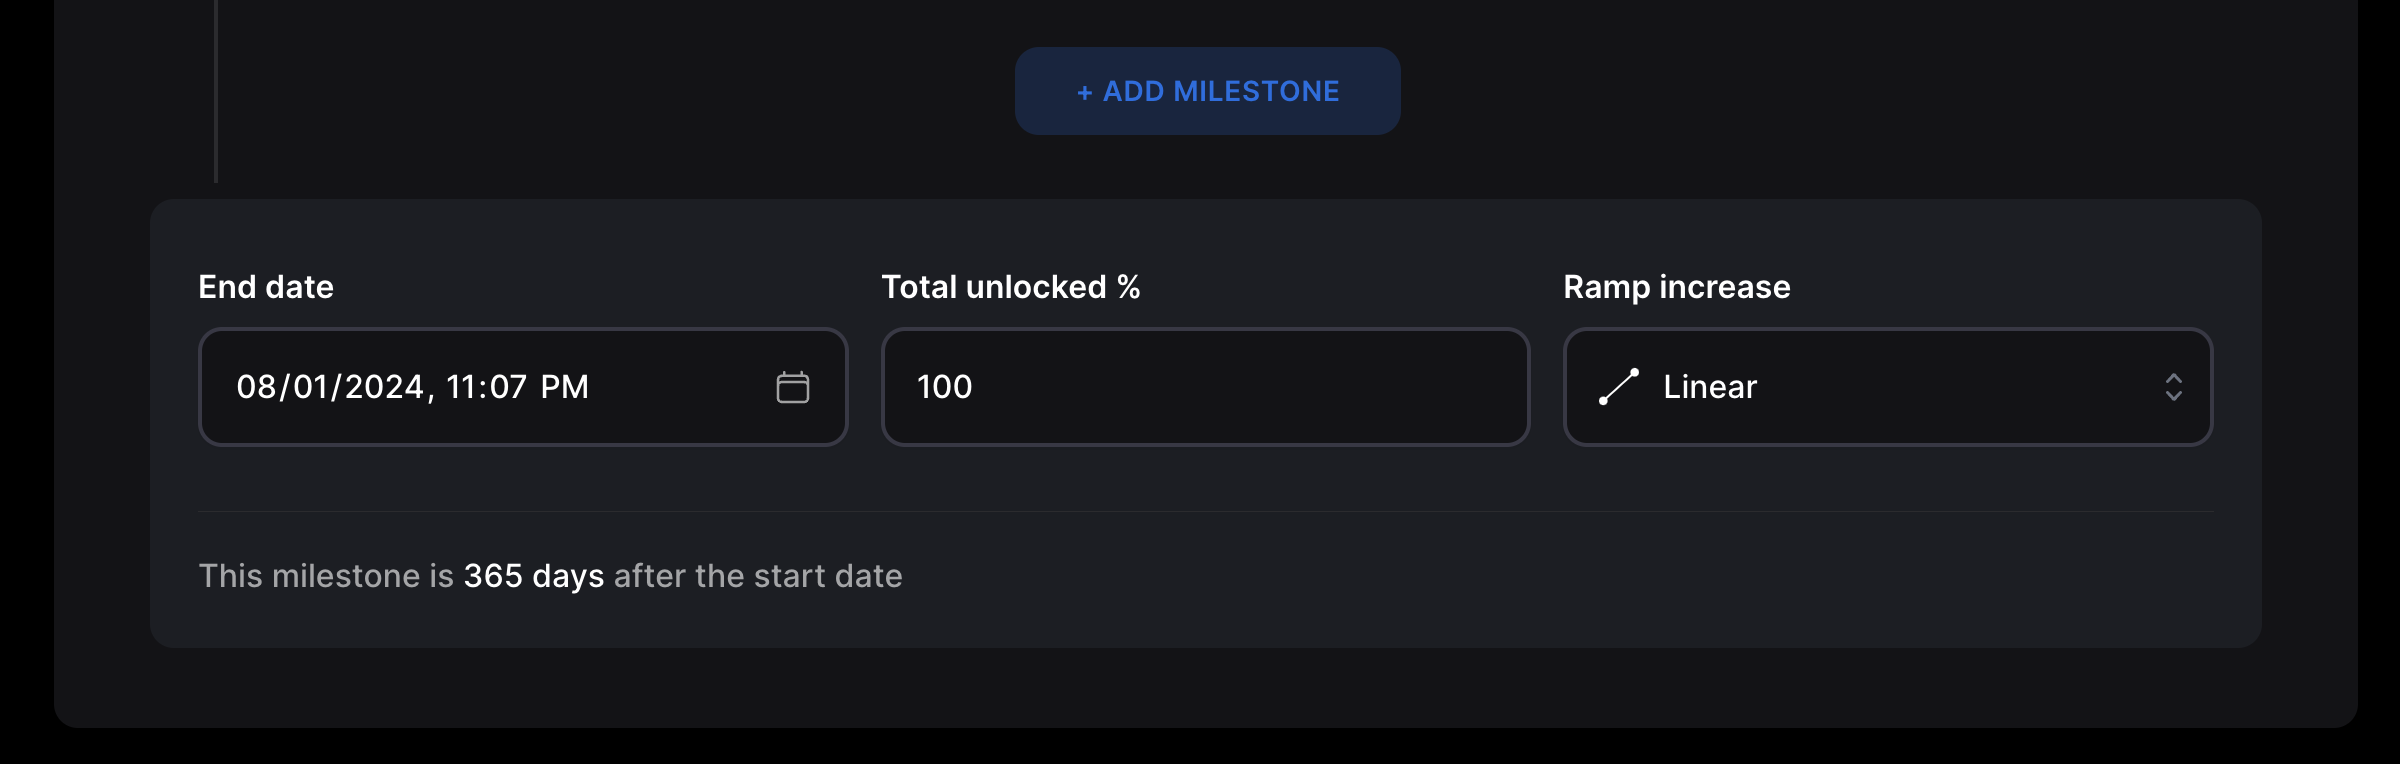
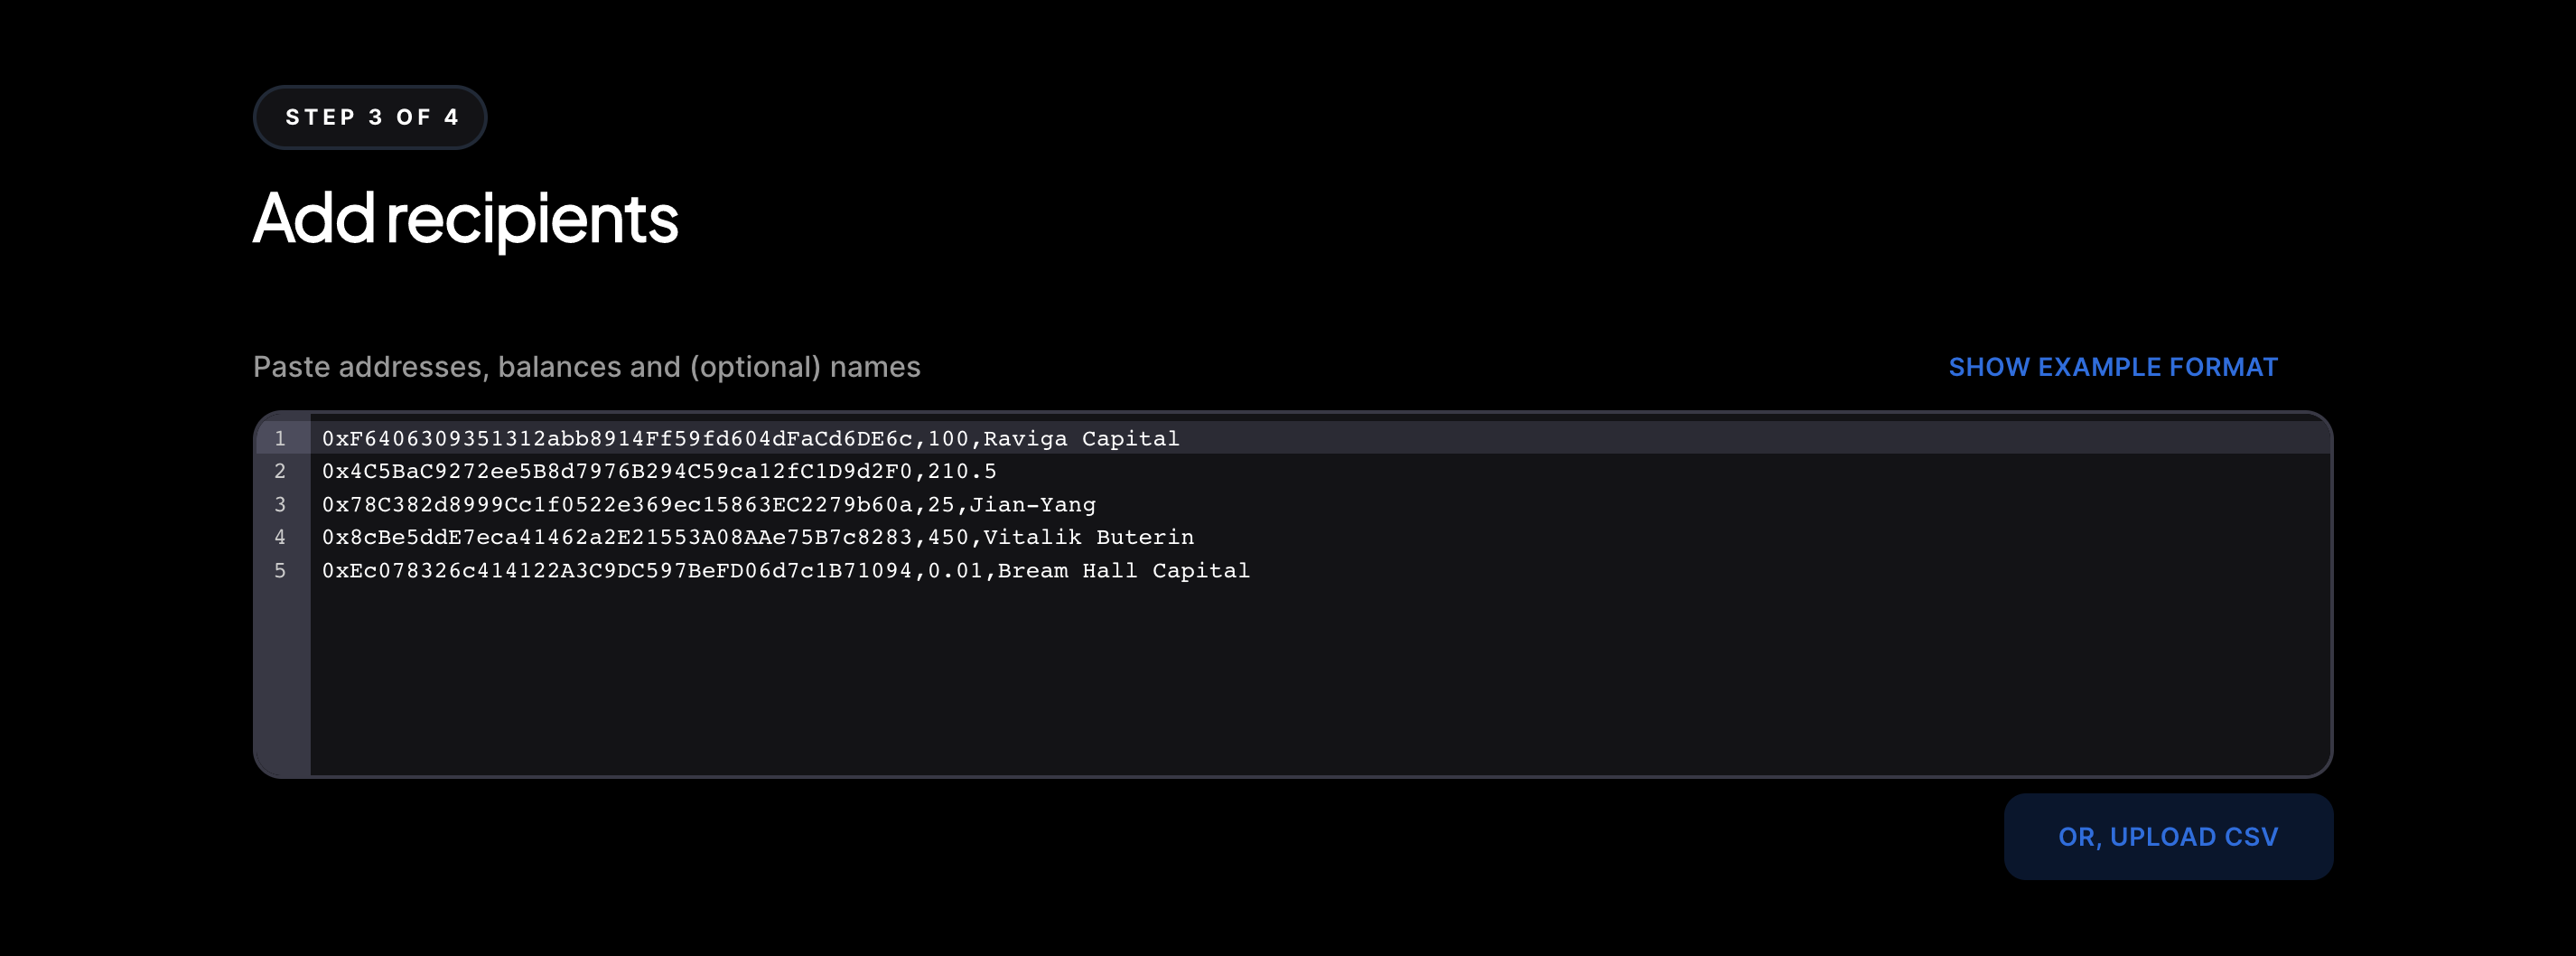
 7. Add recipient wallets that will receive tokens and their balances. There are three ways to do this: manually enter addresses and amounts, import a CSV file, or copy/paste from another document.
 8. Before finalizing your settings and distributing your tokens, make sure to double check that all balances are correct.
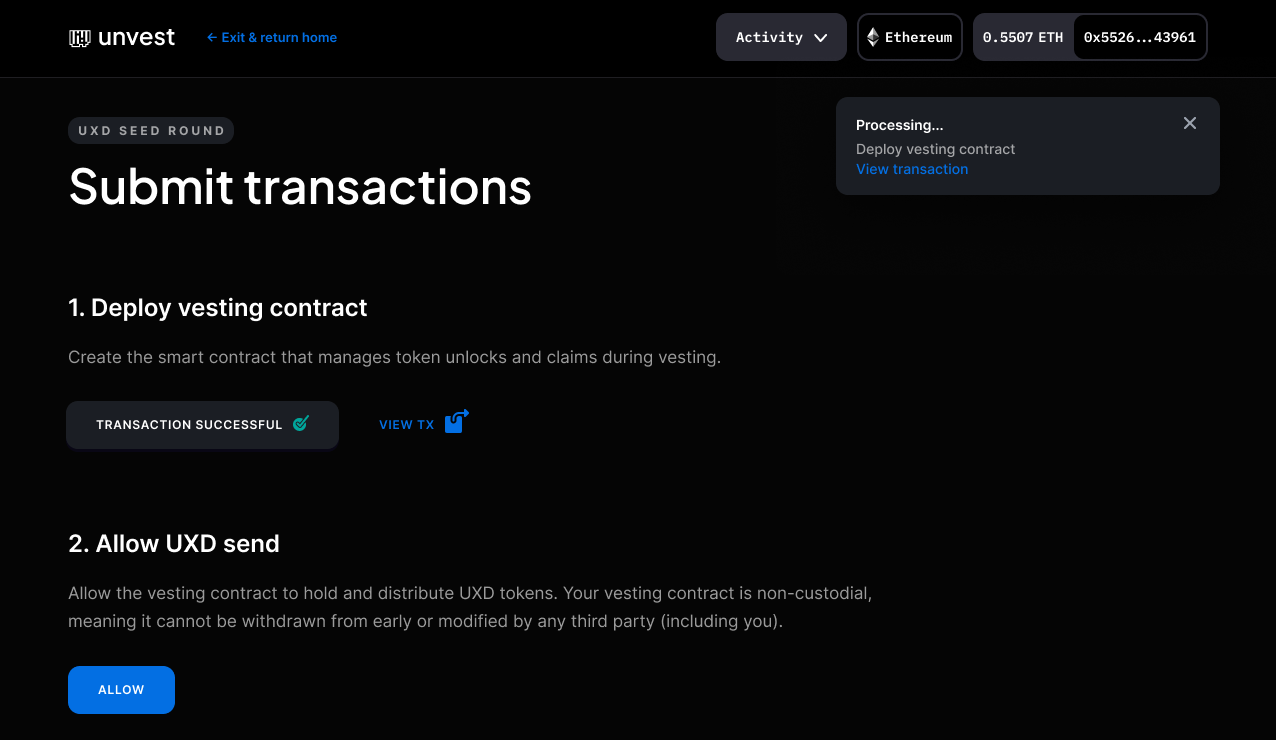
9. When you are ready, submit your transactions and you are all done.
8. Before finalizing your settings and distributing your tokens, make sure to double check that all balances are correct.
9. When you are ready, submit your transactions and you are all done.
 10. You can view claims and sells from the Project Dashboard, and your investors can use the claim page to view and claim their tokens. The link to the claim page can be found on the Unvest Investor view, which you can share on your website and in Discord or Telegram.