> ## Documentation Index
> Fetch the complete documentation index at: https://docs.unvest.io/llms.txt
> Use this file to discover all available pages before exploring further.
# Vest tokens with linear block-by-block unlocks
> Vesting tokens with linear block-by-block unlocks allows you to gradually release tokens to recipients over a set period of time, with the number of unlocked tokens increasing linearly with each block
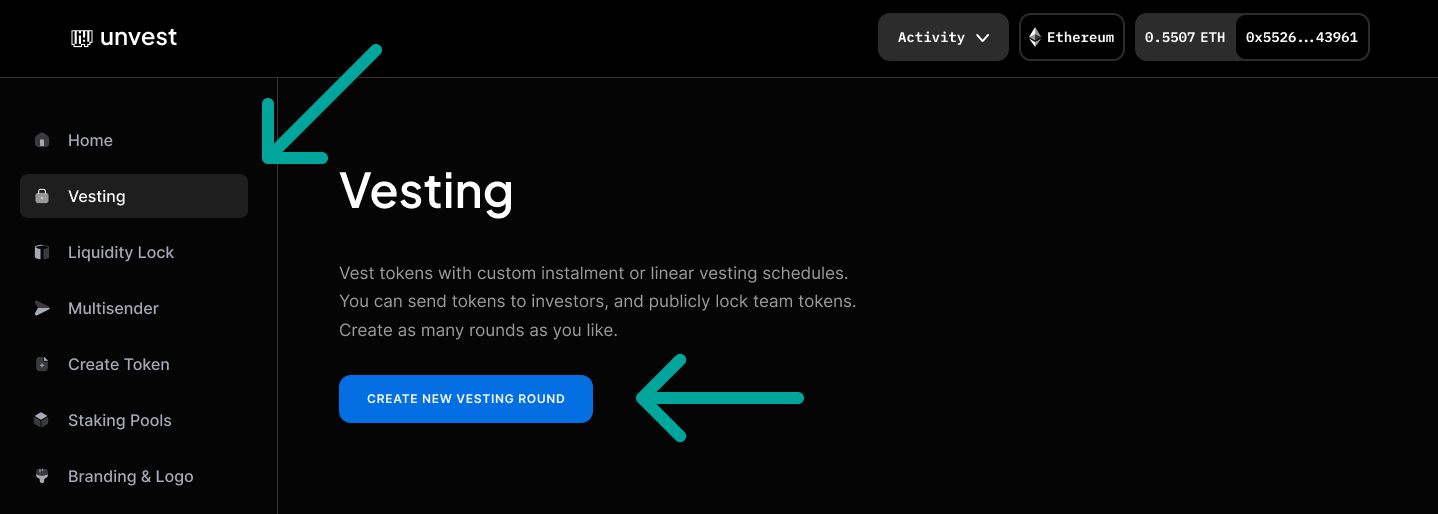
1. Connect your wallet to the correct network and navigate to the "Create new vesting round" page under the "Vesting" section of your Project Dashboard.
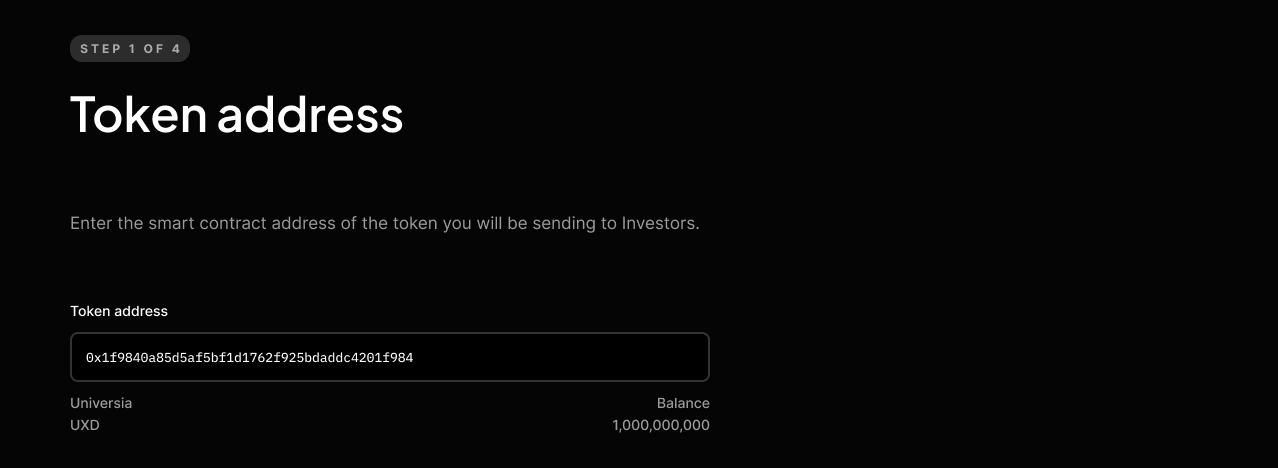
 2. Enter the smart contract address of the project token you want to lock.
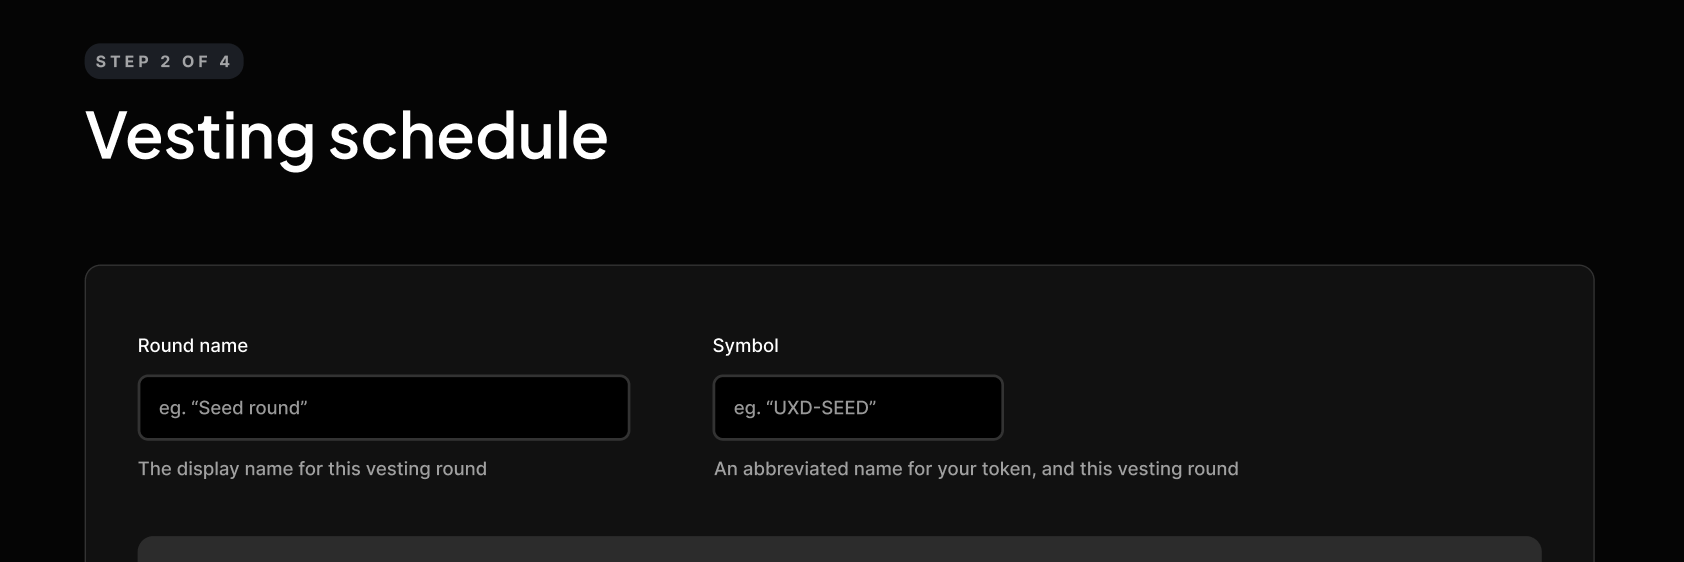
 3. In the "Schedule editor," give your round a name and symbol, which will be displayed publicly and cannot be changed later.
 4. Choose a start date, which can be in the past or future and represents when your vesting schedule begins. It is usually best to set this to the current time.
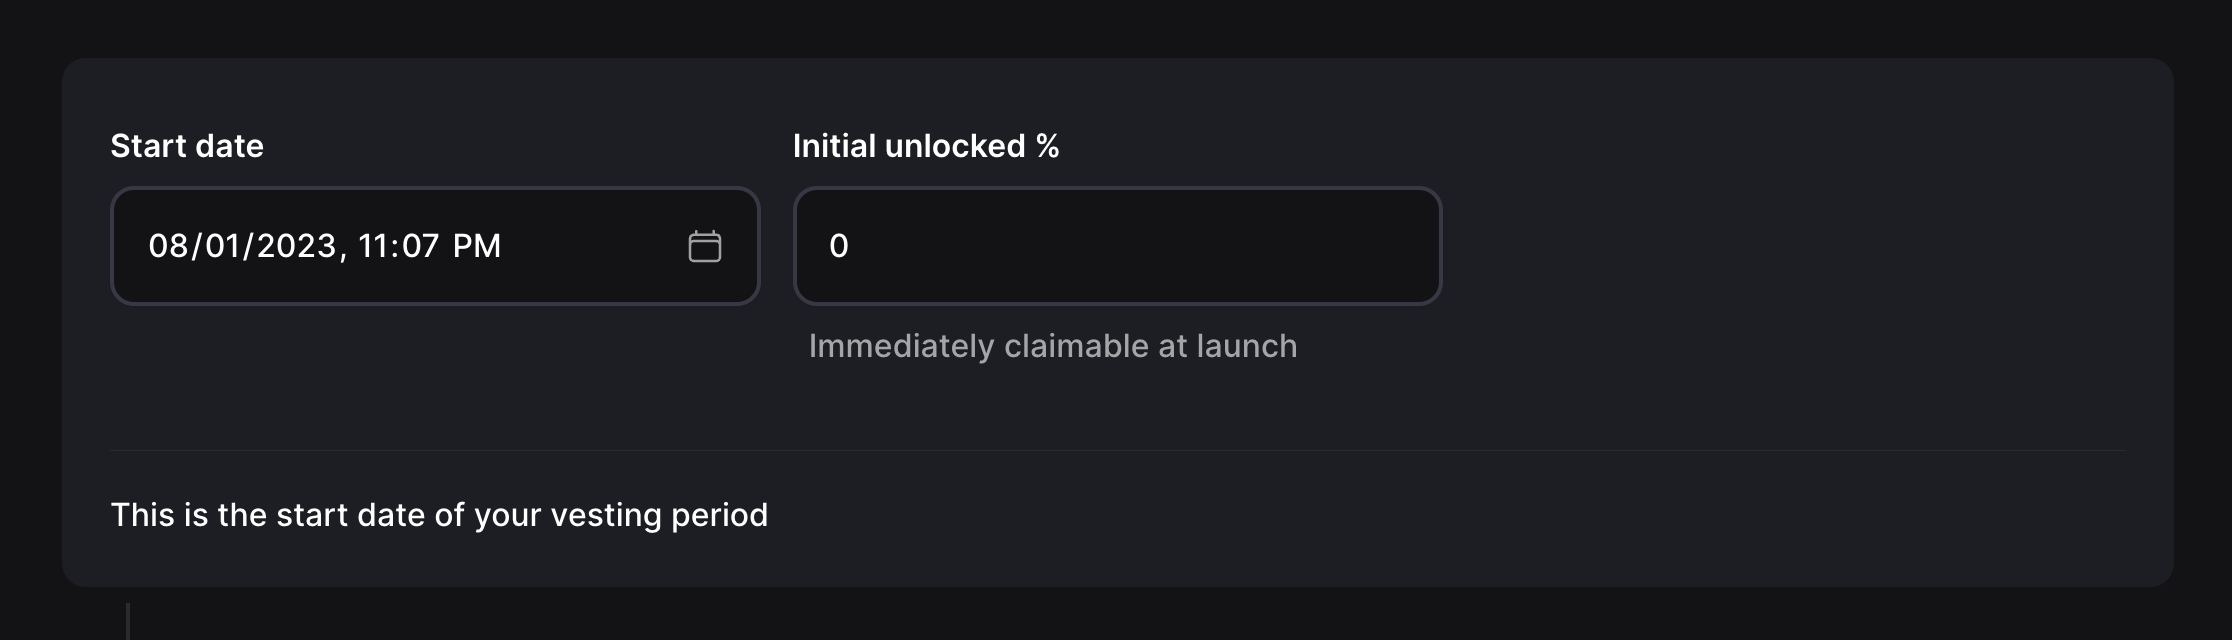 5. Set the initial unlock percentage, which is the amount that will be immediately claimable.
6. To customize your vesting schedule with linear block-by-block unlocks, add milestones and select dates for each milestone. Then, choose the "Linear" ramp setting.
5. Set the initial unlock percentage, which is the amount that will be immediately claimable.
6. To customize your vesting schedule with linear block-by-block unlocks, add milestones and select dates for each milestone. Then, choose the "Linear" ramp setting.
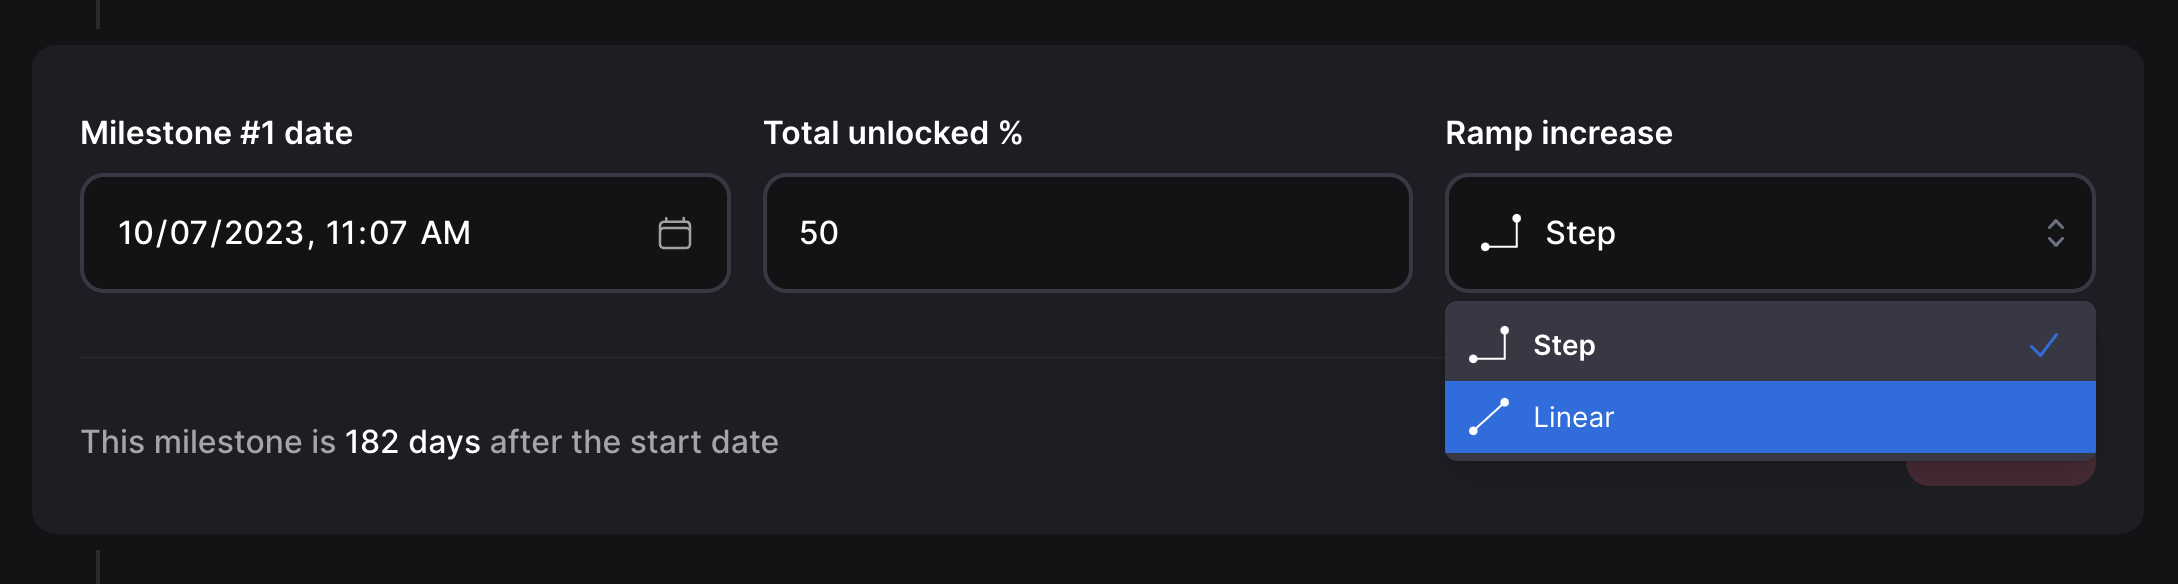 7. If you want a steady unlock rate, you only need two milestones, ensure "linear" is selected for the final milestone.
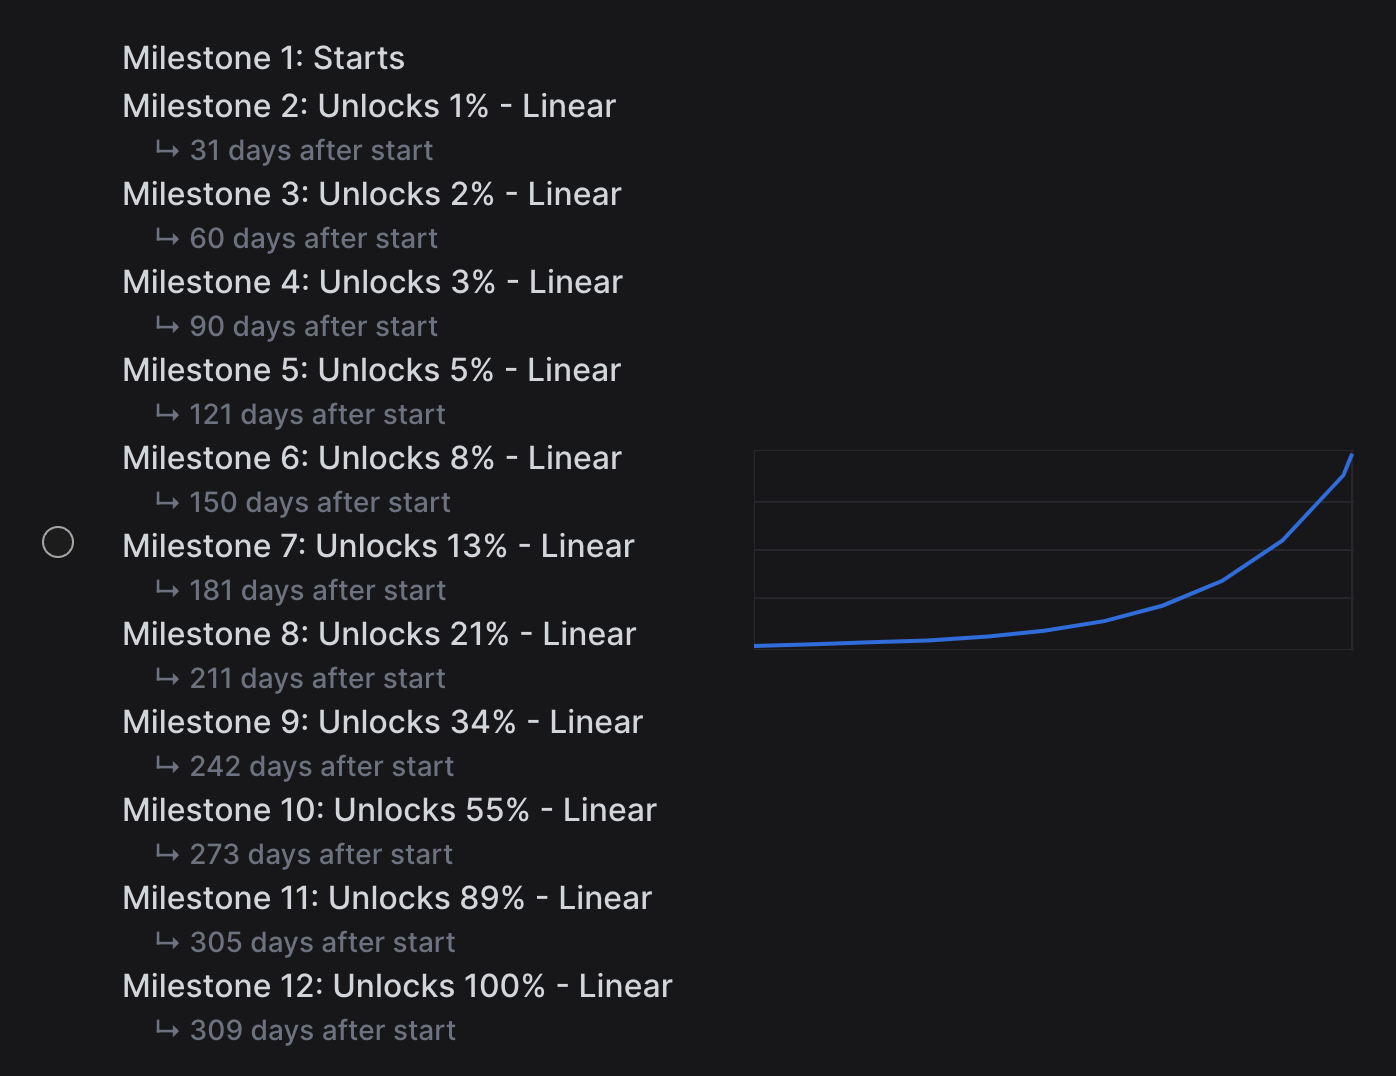
 8. If you want to increase or decrease the unlock rate over time, add multiple milestones and modify the corresponding unlock percentage, or the gap between unlock milestones.
 9. Add recipients in CSV format using one of the three available methods.
10. Review and confirm all balances are correct before finalizing your settings and distributing your tokens.
11. Submit the transactions to complete the vesting round.
9. Add recipients in CSV format using one of the three available methods.
10. Review and confirm all balances are correct before finalizing your settings and distributing your tokens.
11. Submit the transactions to complete the vesting round.