- Connect your wallet and ensure you are on the correct network.
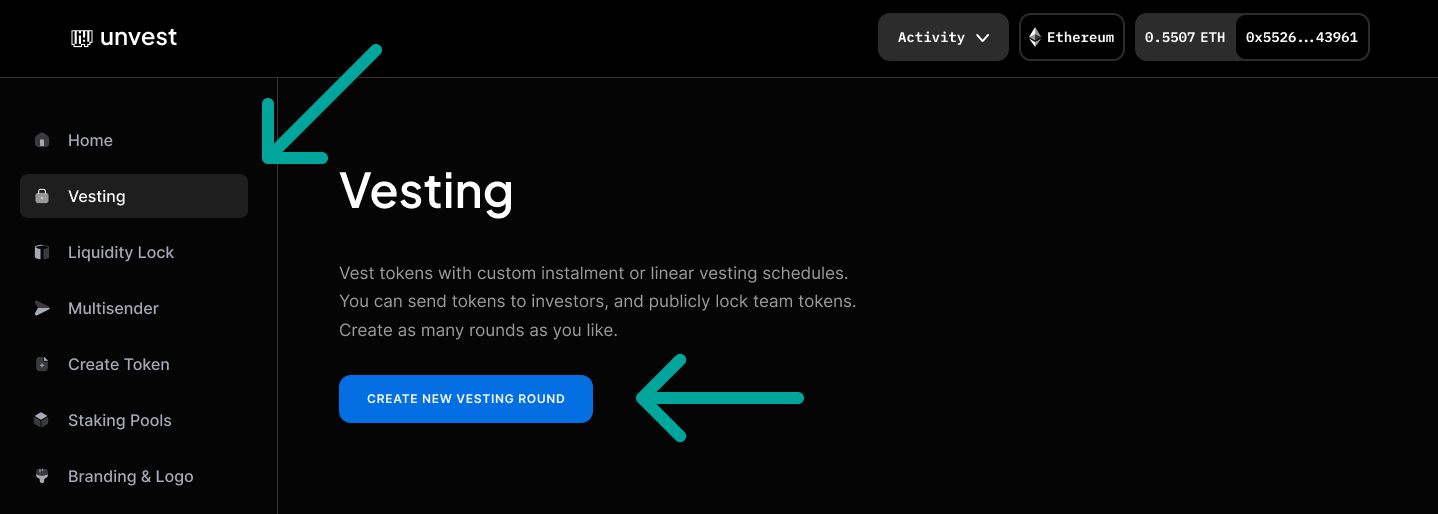
- Navigate to the “Vesting” page on the Project Dashboard and select “Create new vesting round”.
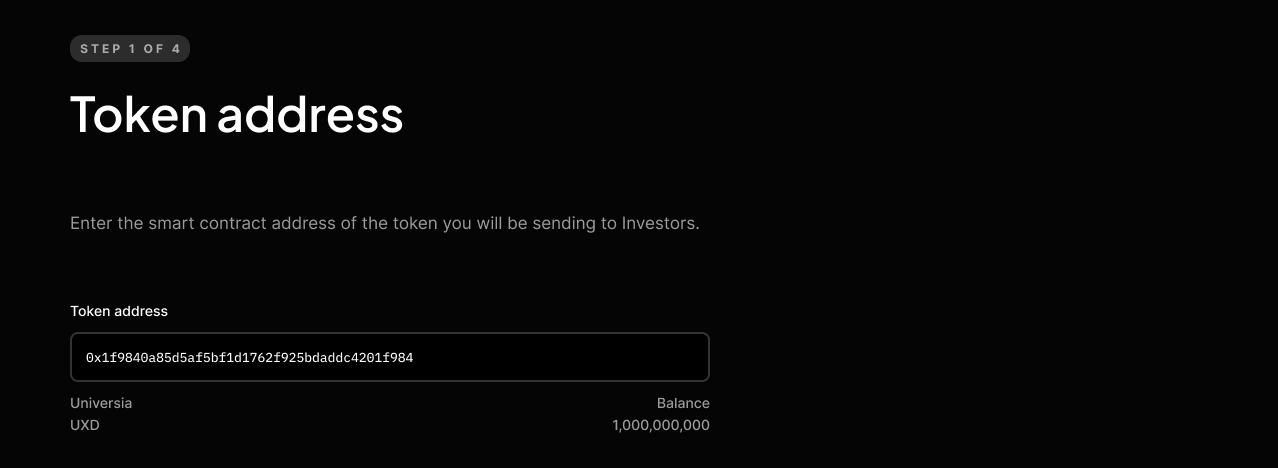
- Enter the smart contract address of the project token you will be locking.
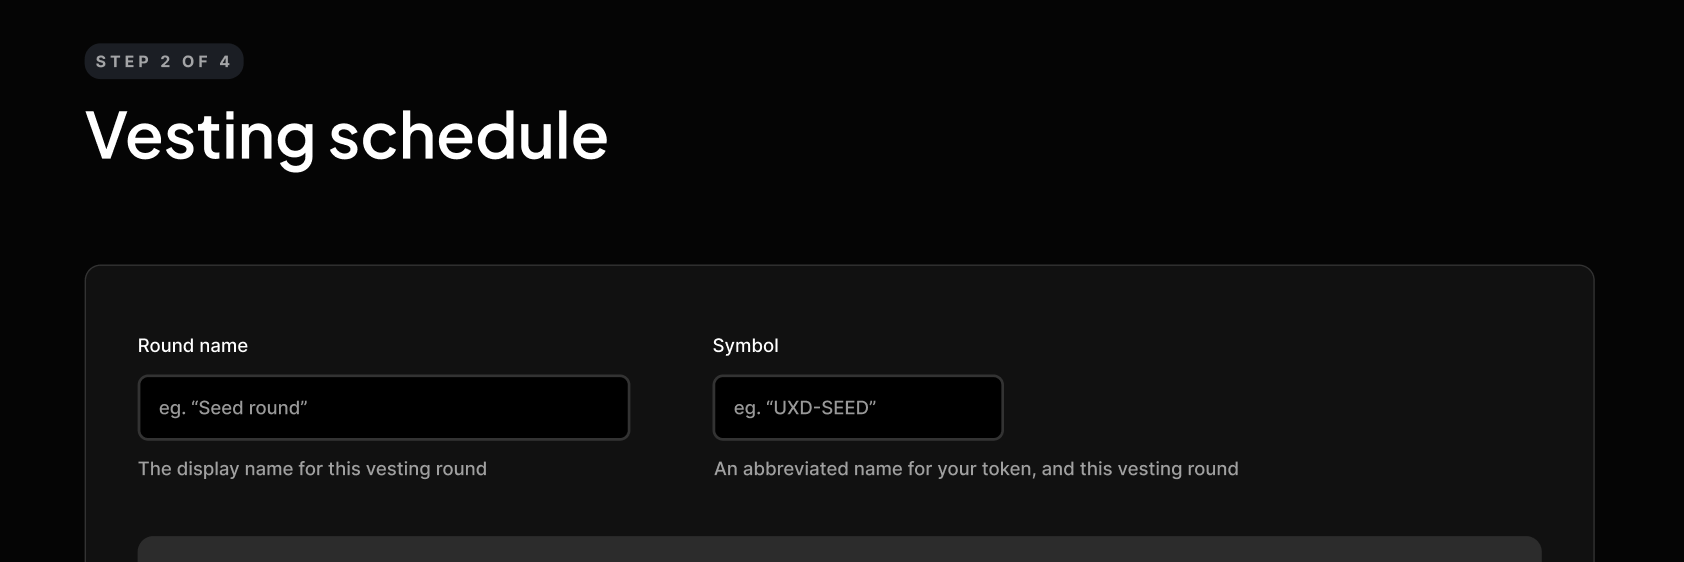
- In the Schedule Editor, enter a name and symbol for your round. These will be displayed publicly and cannot be changed later.
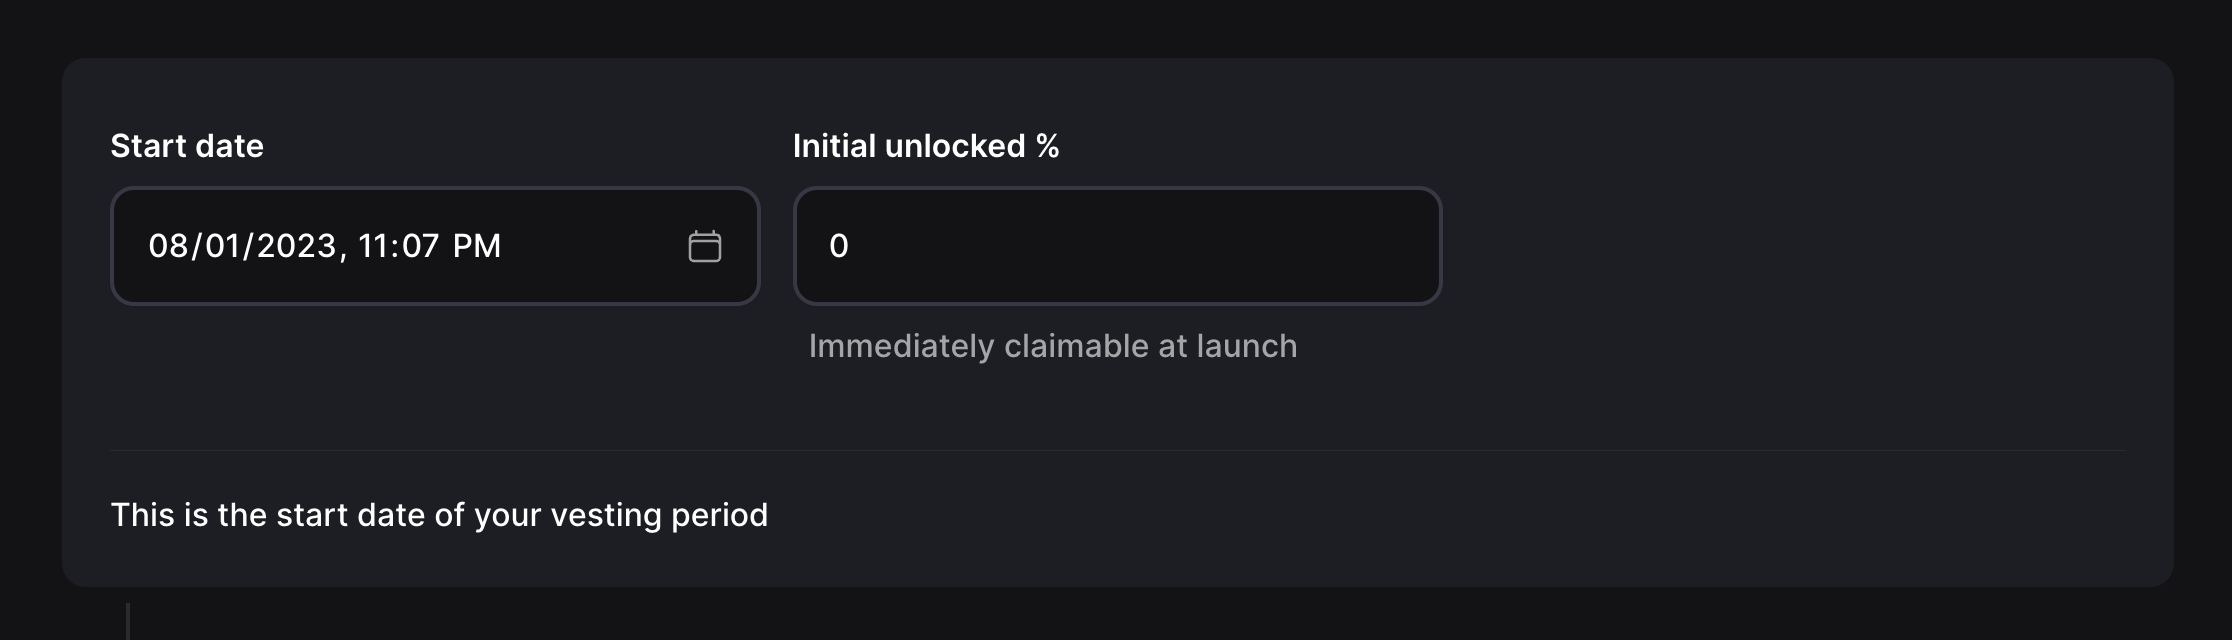
- Select a start date for your vesting schedule. This can be in the past or in the future, and represents when your vesting schedule begins. It usually makes sense to set this to the current time.
- Select the initial unlock percentage. This is the amount that is immediately claimable.
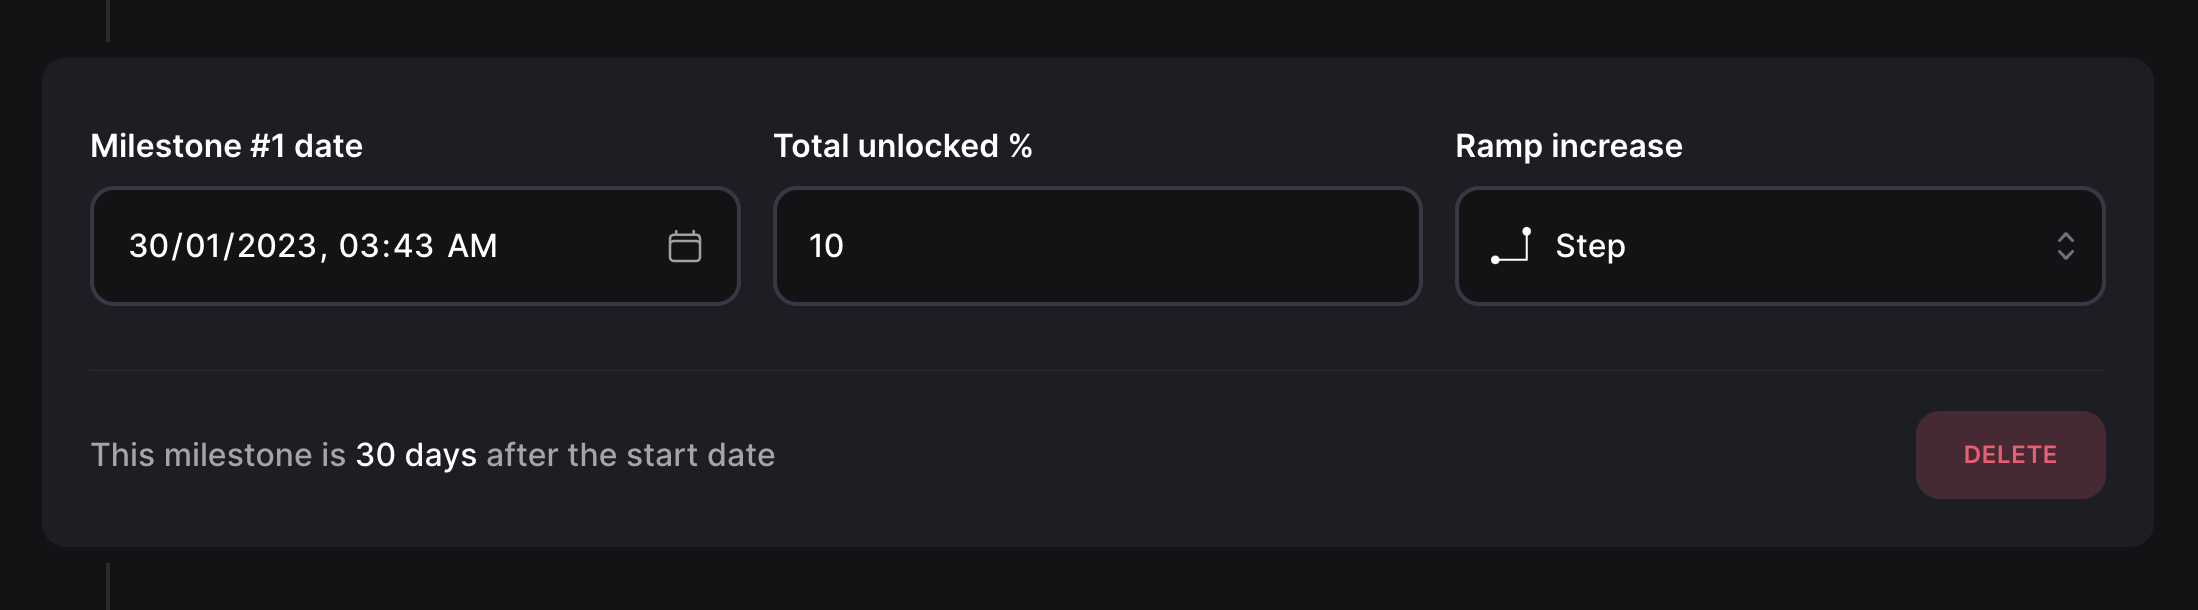
- To create the 10% monthly unlock schedule, click the “Add milestone” button to add a new milestone widget. In the date picker, select the first of the month that you want the 10% unlock to occur. In the unlock percentage field, enter the cumulative percentage of tokens that should be unlockable after this milestone. For example, the first milestone should be 10%, the second 20%, the third 30%, and so on. In the ramp increase dropdown, select “step”.
- Repeat step 7 for each additional monthly milestone until you have reached the final milestone.
- In the final milestone widget, select the date when all tokens should be unlockable and set the unlock percentage to 100%. In the ramp increase dropdown, select “step”.
- Click the “Next” button to save your choices and move on to the recipient selection screen.
- Continue the vesting round creation process by adding recipients and submitting the transactions.
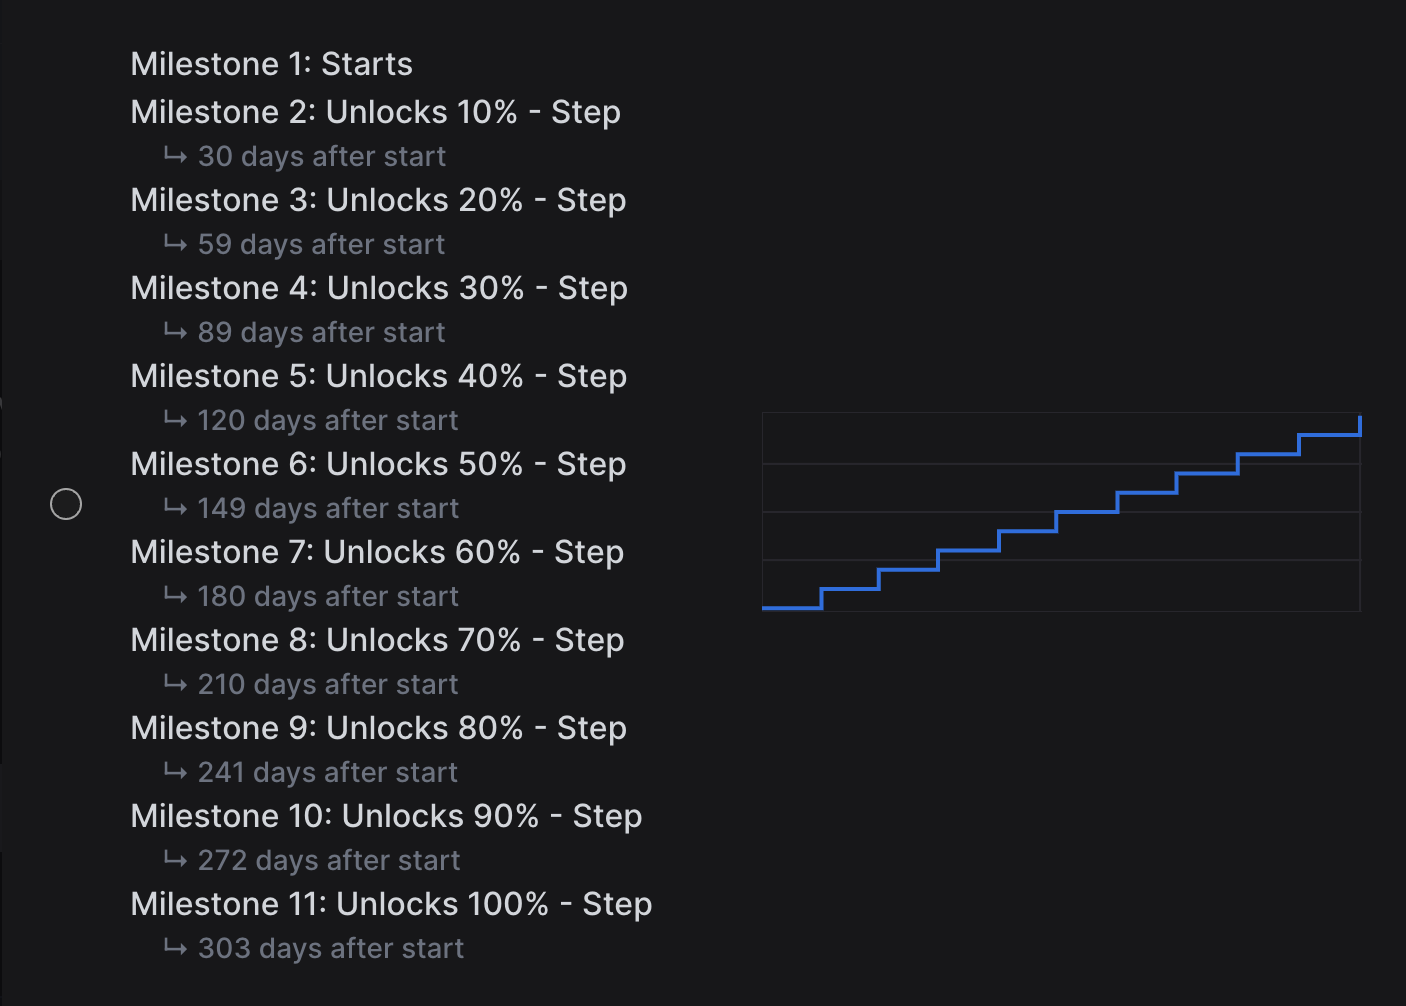
- Your vesting round is now set up with a monthly step unlock schedule, with 10% of the tokens unlocking on the first of each month until the vesting period is complete.
Vesting Tutorials
Vest tokens with Milestone based unlocks
Milestone based vesting allows you to customize the way tokens are released to recipients over a specific period of time.
In this tutorial, we will demonstrate how to create a vesting schedule where 10% of tokens unlock in a “step” milestone on the first of each month until 100% of tokens are unlocked. By following these steps, you will learn how to use the Unvest Schedule Editor to create any milestone based vesting schedule you desire.