- Navigate to the “Liquidity Locks” page on the Unvest dashboard.
- Select the LP token that you want to lock by pasting the LP contract address.
- Unvest will recognise the LP token, and a dropdown labeled “Project token” will appear. Ensure you select your project token, as opposed to the other asset in the liquidity pool, so that your lock will appear publicly in your project’s Investor Dashboard.
- Select the end date for the lock period.
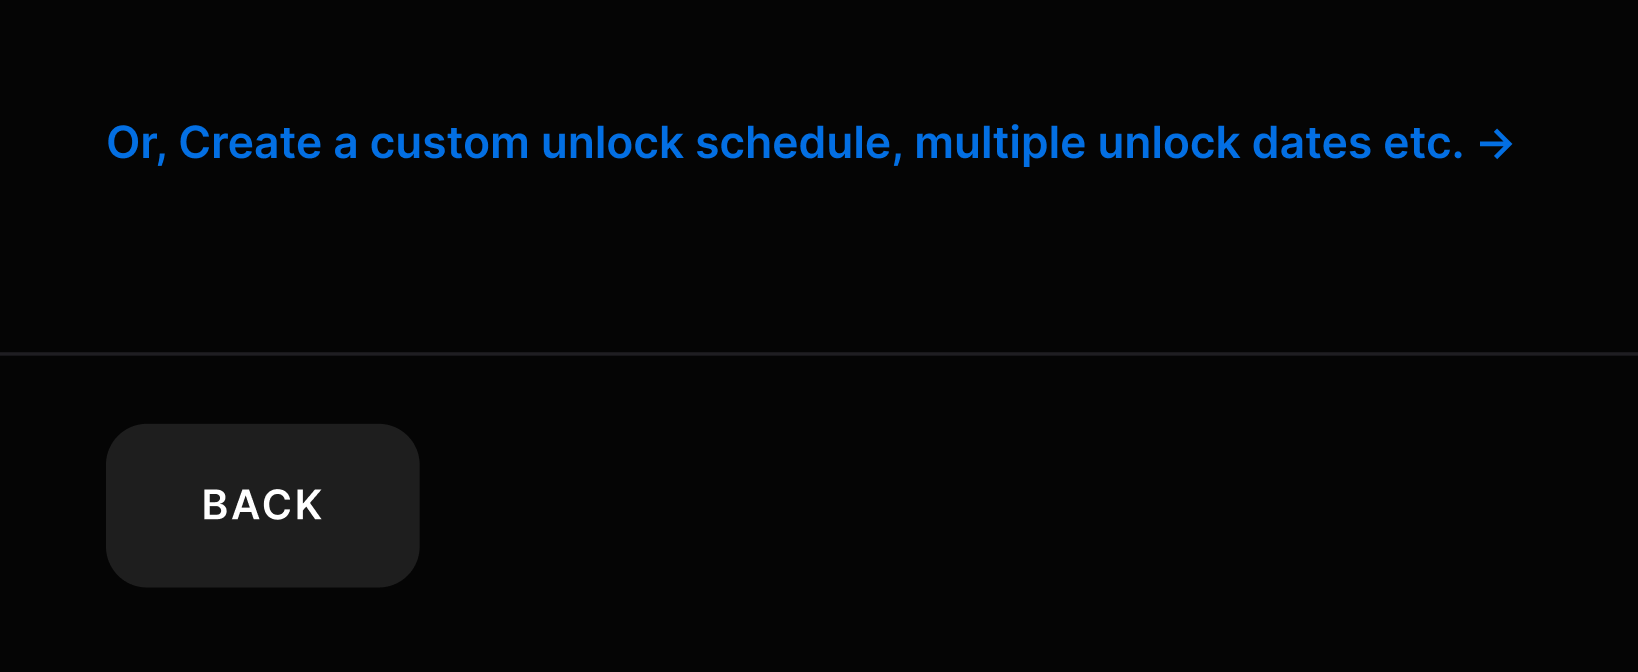
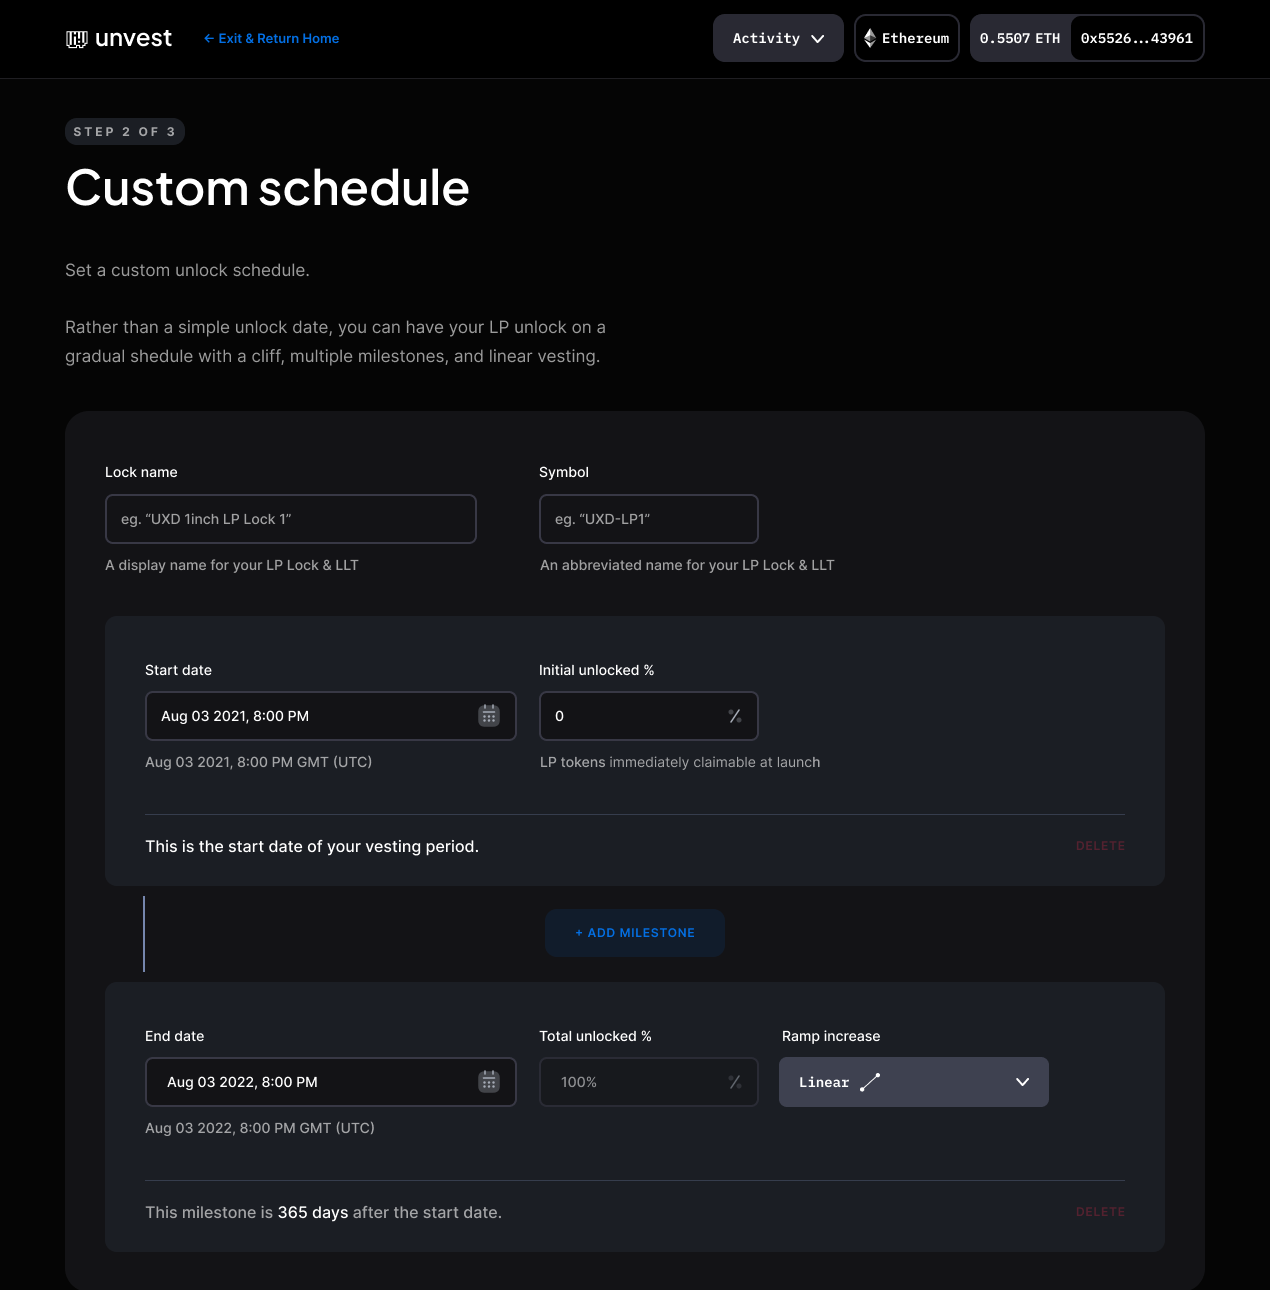
- Instead of setting an Unlock Date, Tap “Create a custom unlock schedule, multiple unlock dates” to open the schedule editor page.

- Use the schedule editor to create a custom unlock schedule. You can add as many milestones as you like, and choose between linear or ramp increases for each milestone.

- Once you have finished creating your custom unlock schedule, click the “Next” button to save your changes.
- Enter the amount of LP tokens that you want to lock.
- You will be prompted to submit transactions to the blockchain to create the liquidity lock. Make sure you have sufficient balance in your wallet to cover the gas fees for this transaction.
- Once the transactions have been successfully mined, your liquidity lock has succesfully been created.
Liquidity Lock Tutorials
Lock liquidity with a custom unlock shedule, milestones and/or linear vesting
By using the advanced mode of the Unvest liquidity lock feature, you can create custom unlock schedules that allow you to unlock your liquidity at specific intervals, rather than all at once.
This can be useful for a variety of use cases, such as gradually releasing liquidity over time, or unlocking it in a series of stages.
Lock V2 Liquidity (Uniswap, Sushi, Quickswap, Pancakeswap etc.)Sell or Distribute shares in project Liquidity