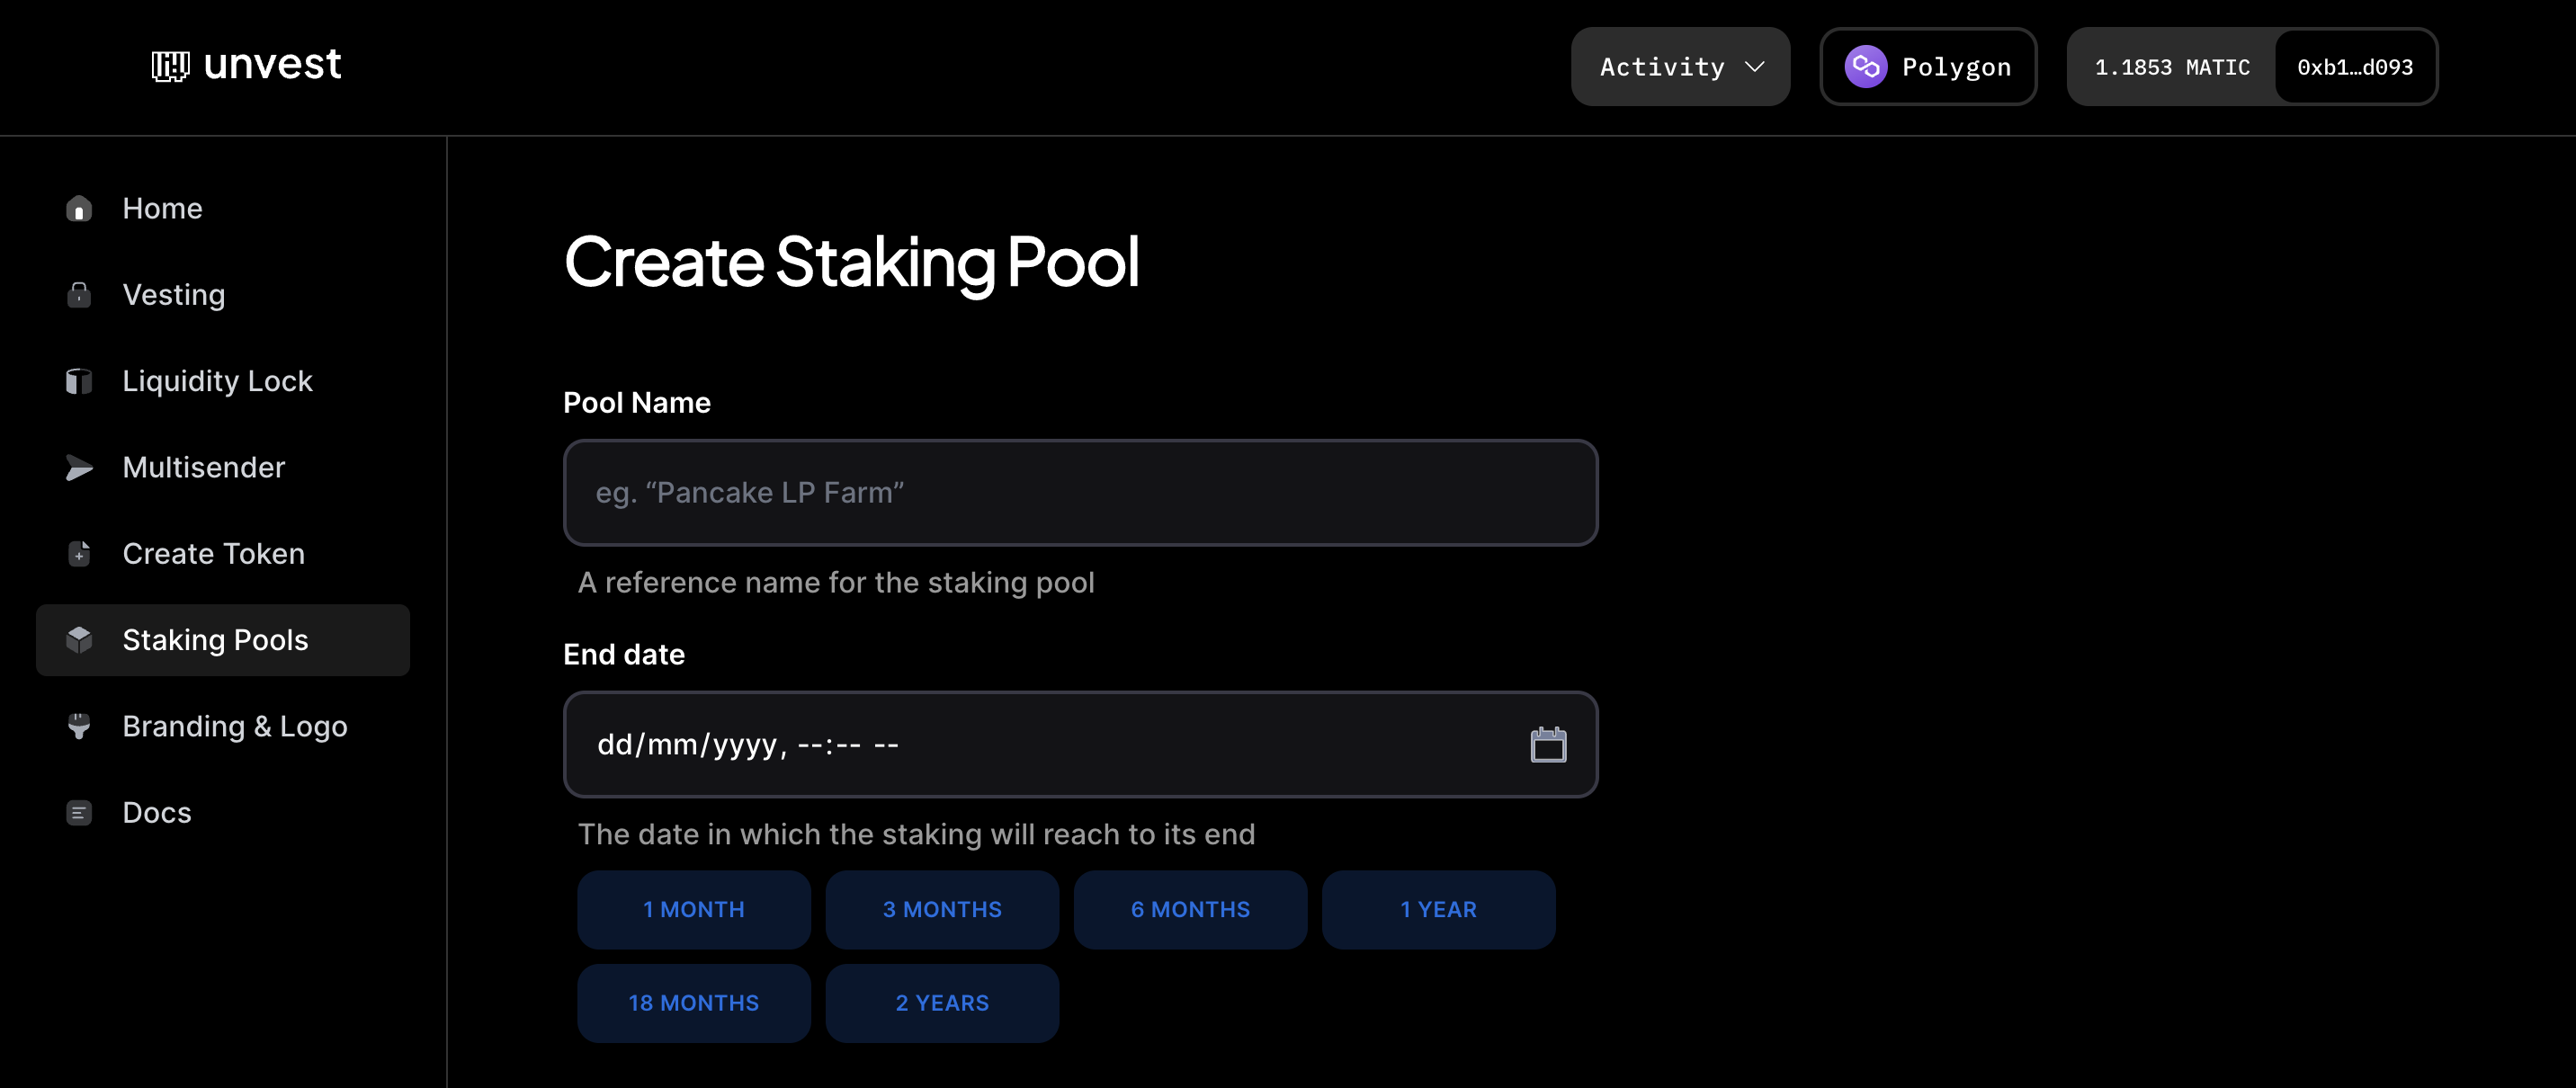
- Navigate to the “Staking Pools” page on the Unvest dashboard.

- In the “Pool Name” field, enter a reference name for the staking pool. This name will be displayed publicly, so choose something descriptive and relevant to your project.
- In the “End Date” field, select the date on which the staking pool will end. In this case, we will choose “1 Year”.
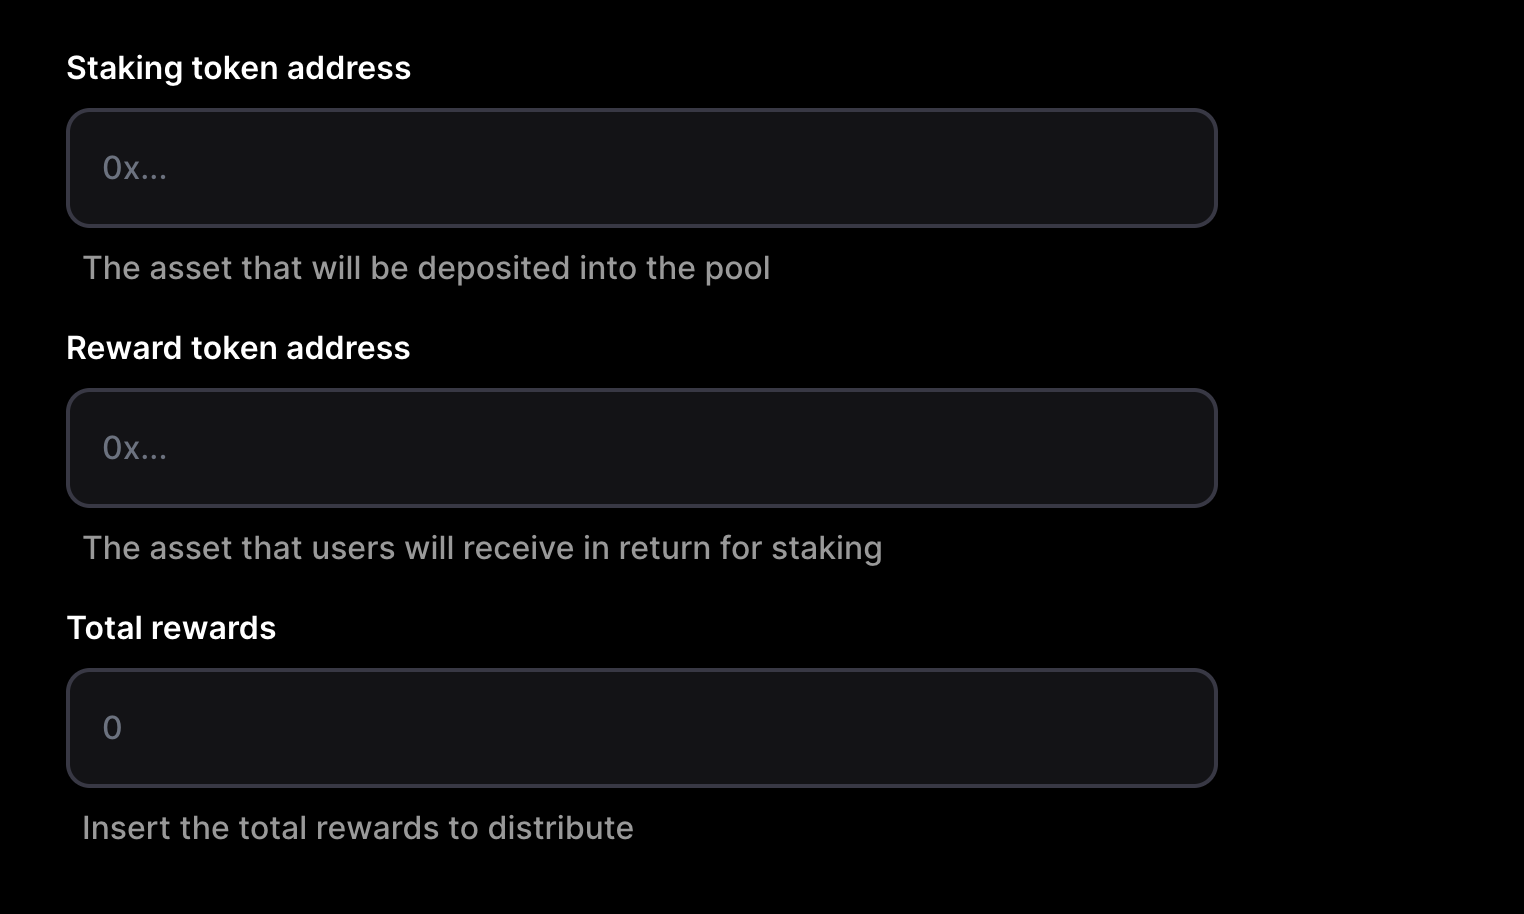
- In the “Staking Token Address” field, enter the smart contract address of the project token that users will be staking.

- In the “Reward Token Address” field, enter the smart contract address of the project token that will be used as the reward for staking. In this case, it is the same as the staking token.
- In the “Total Rewards” field, enter the total number of reward tokens that will be distributed to stakers. In this case, we will enter “10000000”.
- Click on the “Create Pool” button to deploy the staking pool.

- You will be prompted to submit a transaction to the blockchain to create the staking pool. Make sure you have sufficient balance in your wallet to cover the gas fees for this transaction.
- Once the transaction has been successfully mined, the staking pool will be live and users can begin staking their tokens.
Staking & Farming Tutorials
Create a basic staking pool
Unvest’s staking pool creator allows users to create staking pools for any project token, where users can earn rewards for staking their tokens.
In this tutorial, we will show you how to deploy a staking pool where the project token is both the staking token and reward token, and the pool will run for 1 year with a total of 10 million rewards.
Add more investors to an existing vesting round, after it has already startedCreate a staking pool with rewards that vest over time, or unlock at a set date