Create and Deploy a Vesting Schedule
- Navigate to the “Staking Pools” page in the Unvest app.
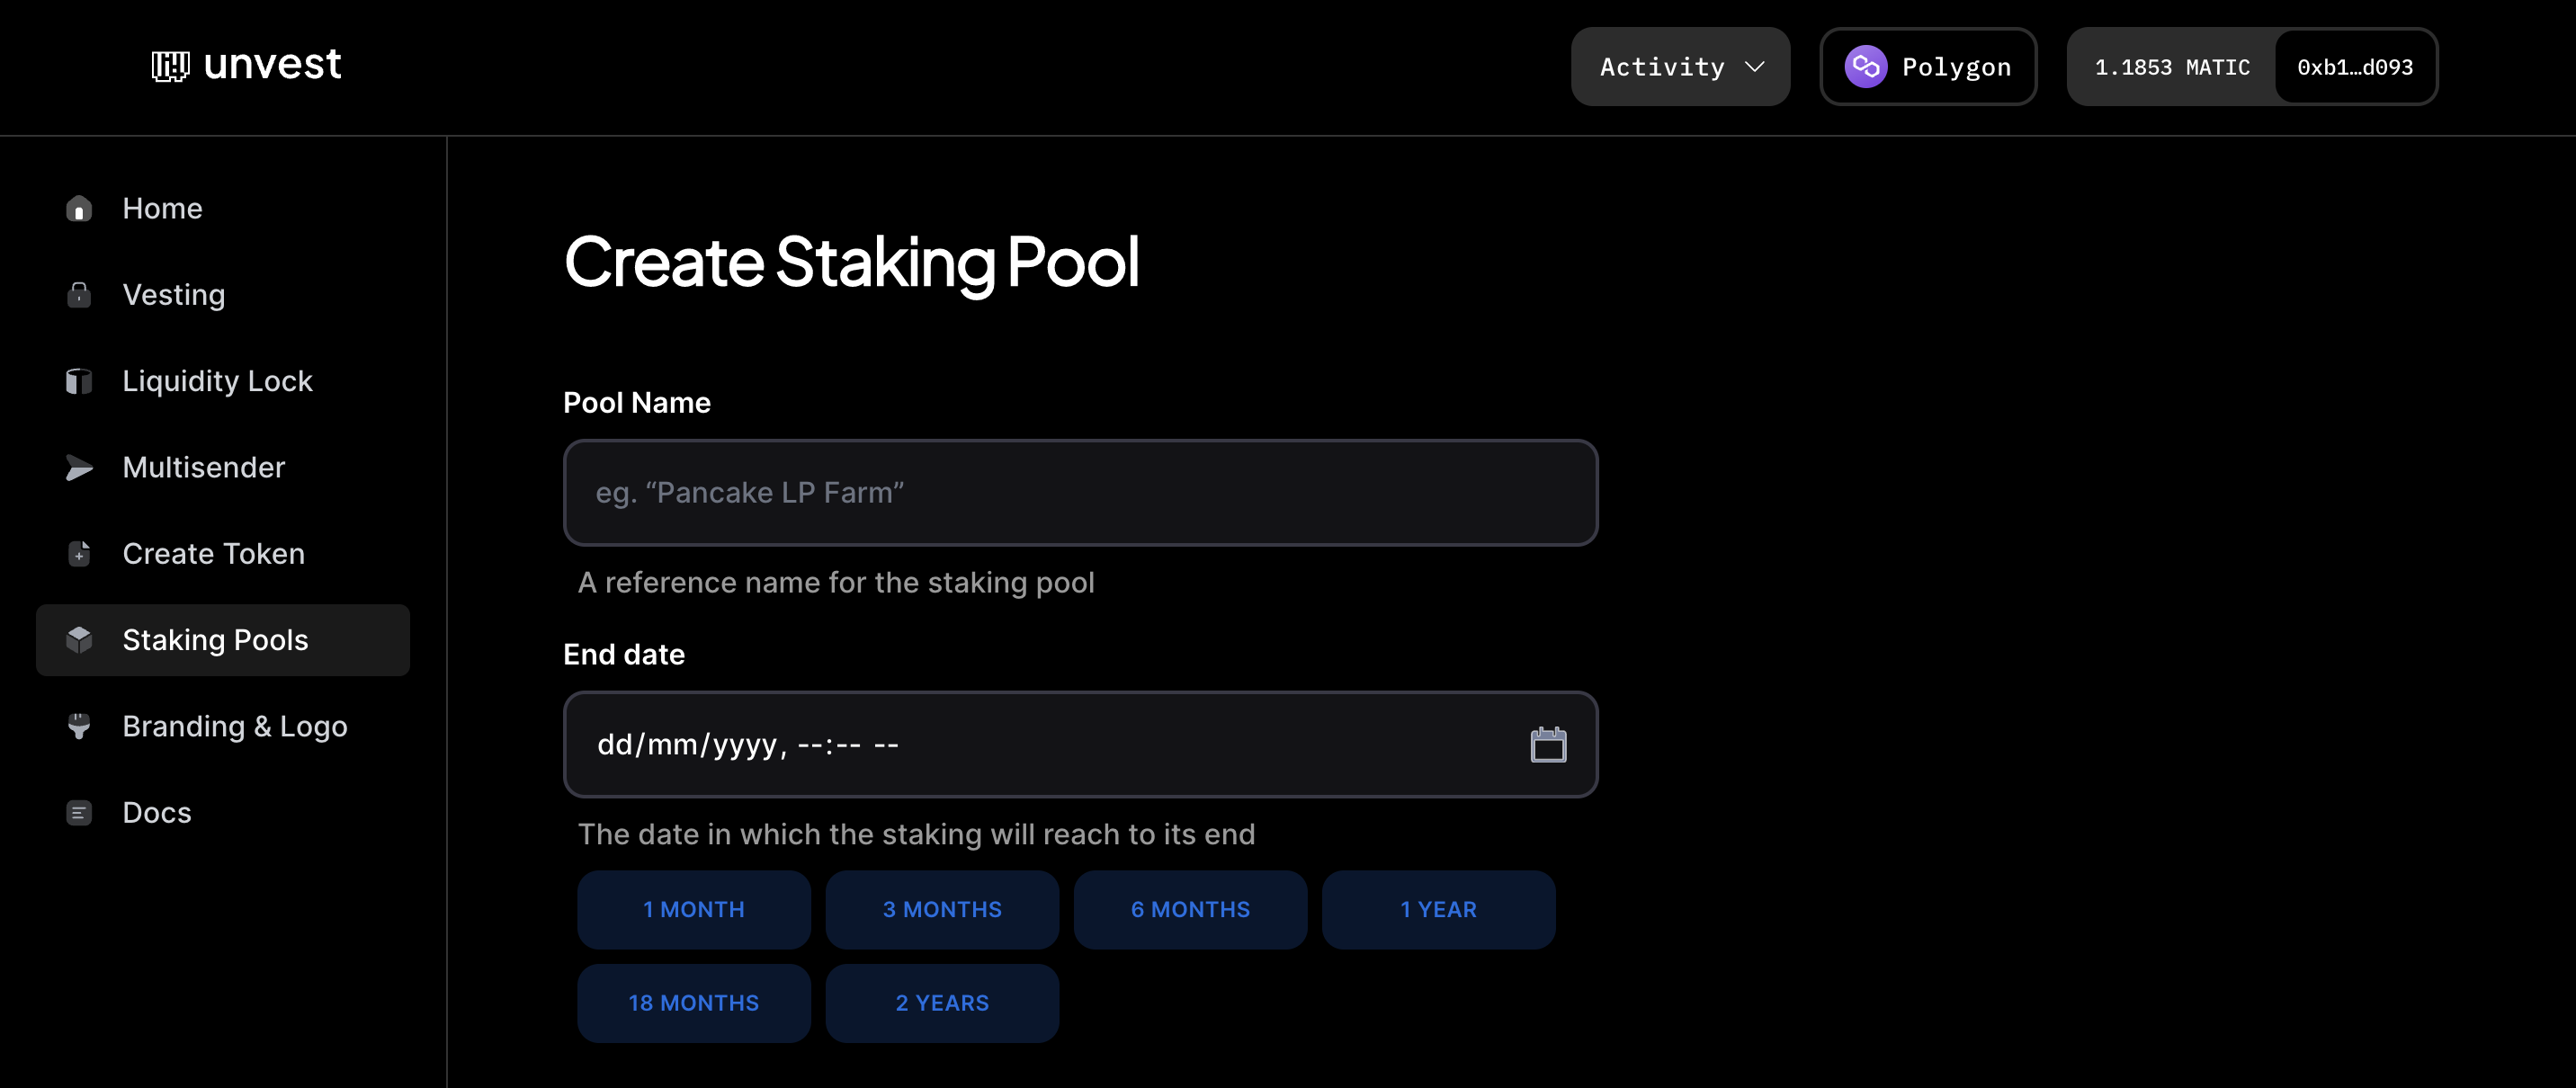
- In the “Pool Name” field, enter a reference name for the staking pool.
- In the “End Date” field, select the date when the staking will end.
- In the “Staking Token Address” field, enter the address of the asset that will be deposited into the pool. This will usually be your unlocked project token.
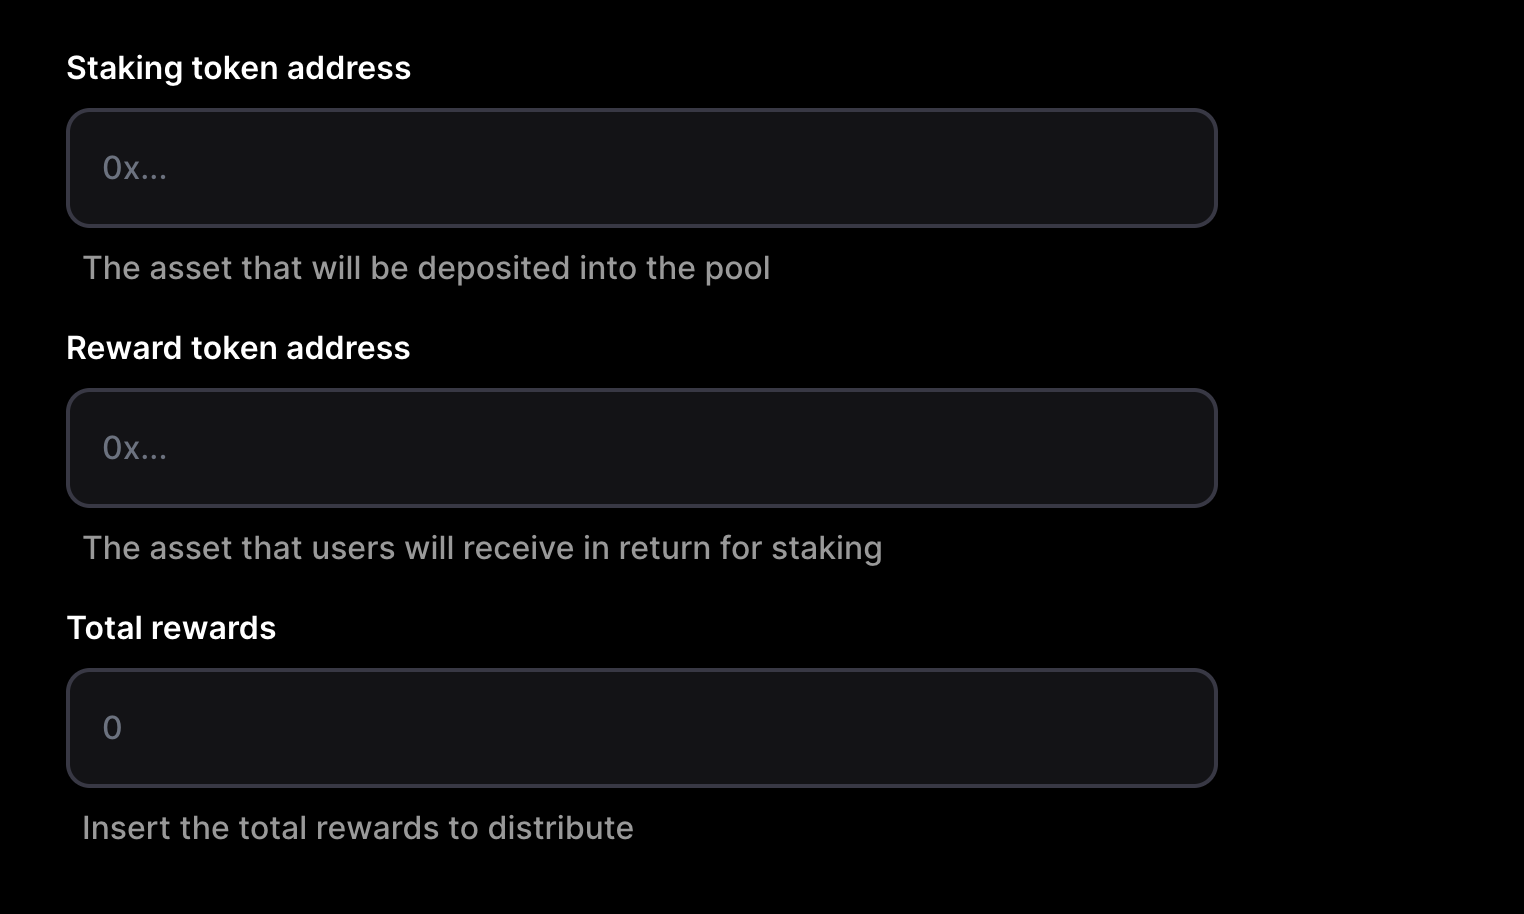
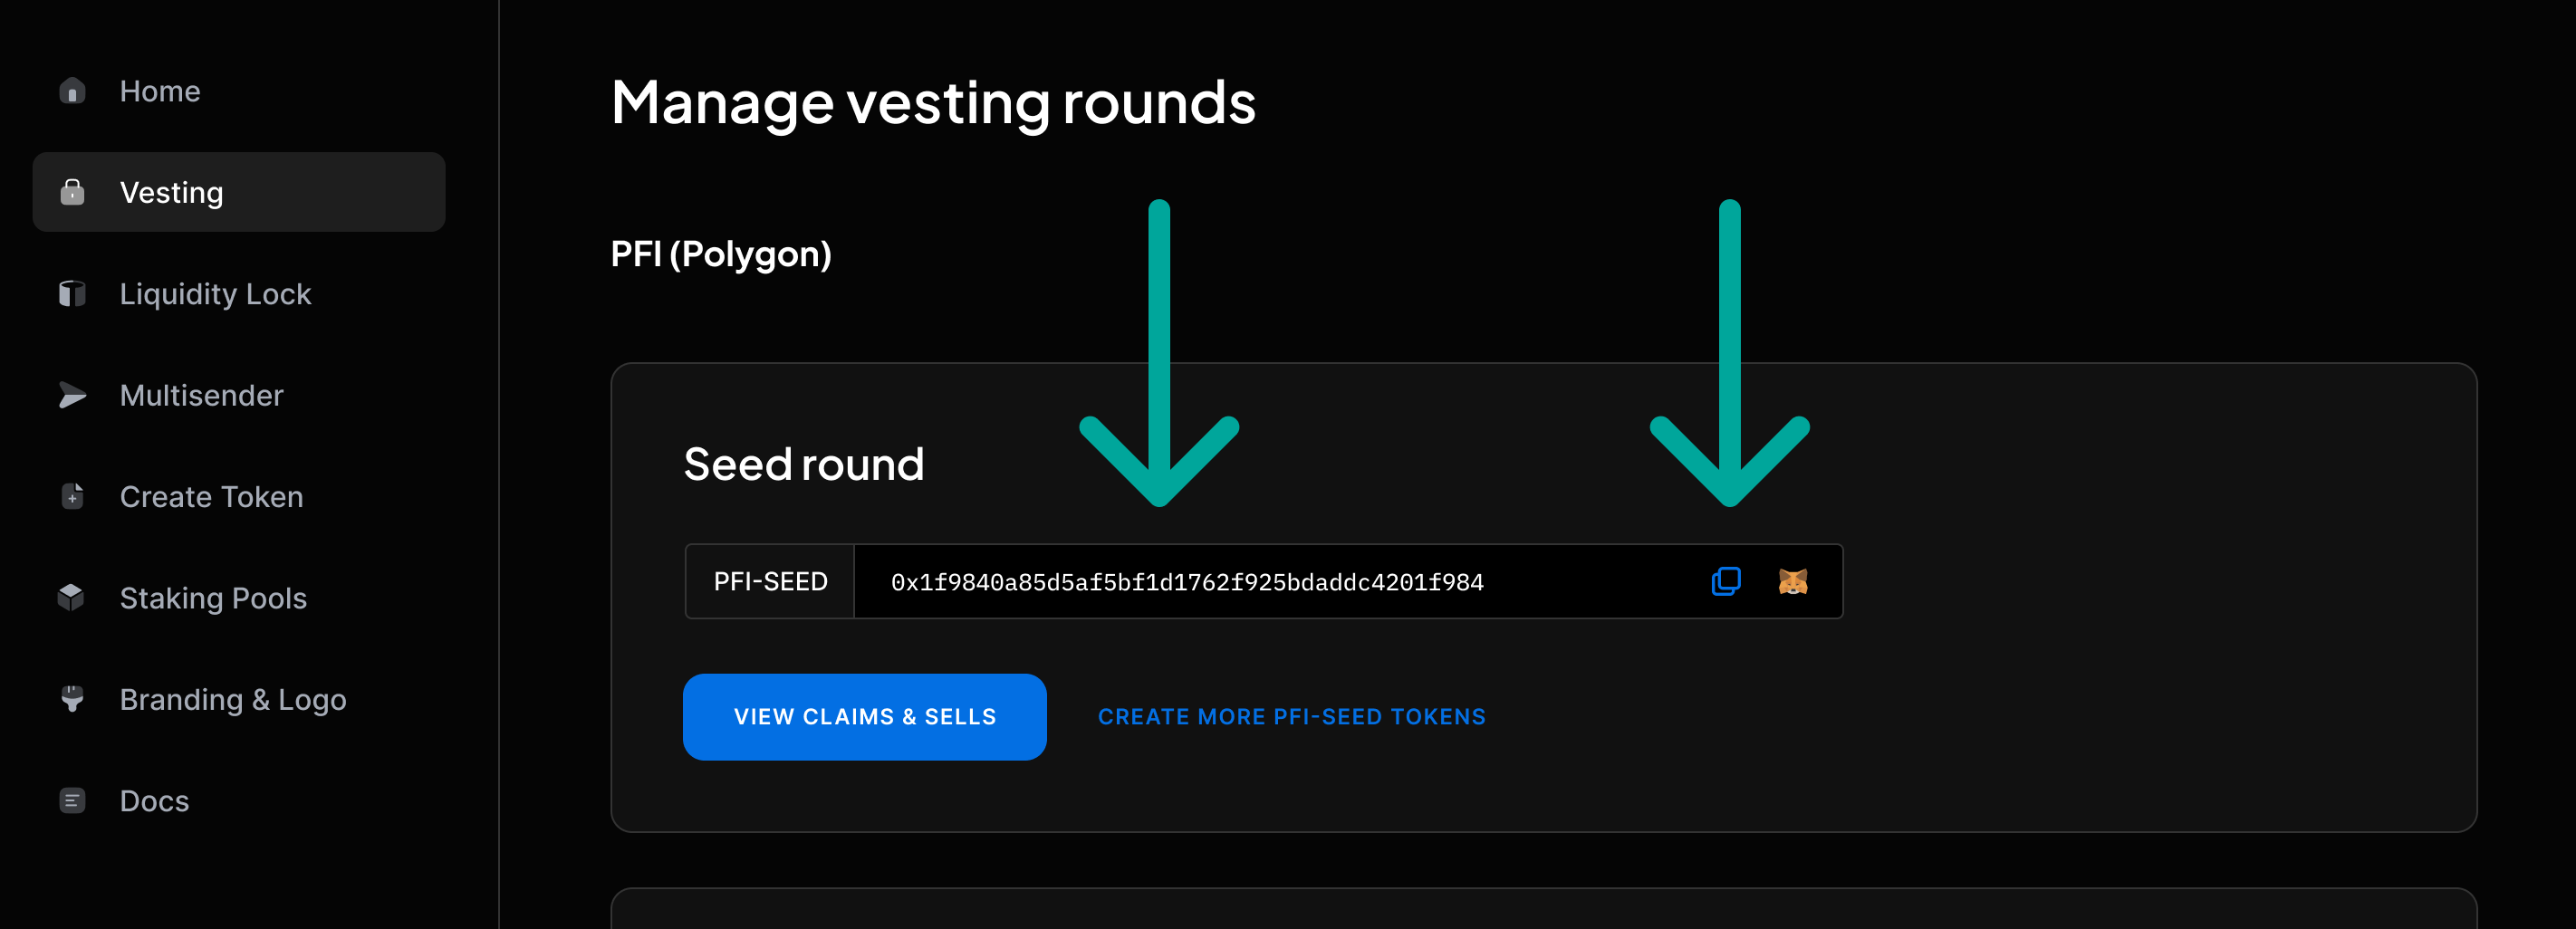
- In the “Reward Token Address” field, enter the address of the vestingToken that users will receive as a reward for staking. You can get the vesting token address from your Project dashboard.
- In the “Total Rewards” field, enter the total amount of vestingTokens to be distributed as a reward.
- Click the “Create Pool” button.
- You will be prompted to submit a transaction to the blockchain to create the staking pool. Make sure you have sufficient balance in your wallet to cover the gas fees for this transaction.
- Once the transaction has been successfully mined, the staking pool will be created, and users will be able to stake their assets in exchange for vestingTokens.