- Connect your wallet to the correct network.
- Navigate to the “Staking Pools” page in the Unvest app.
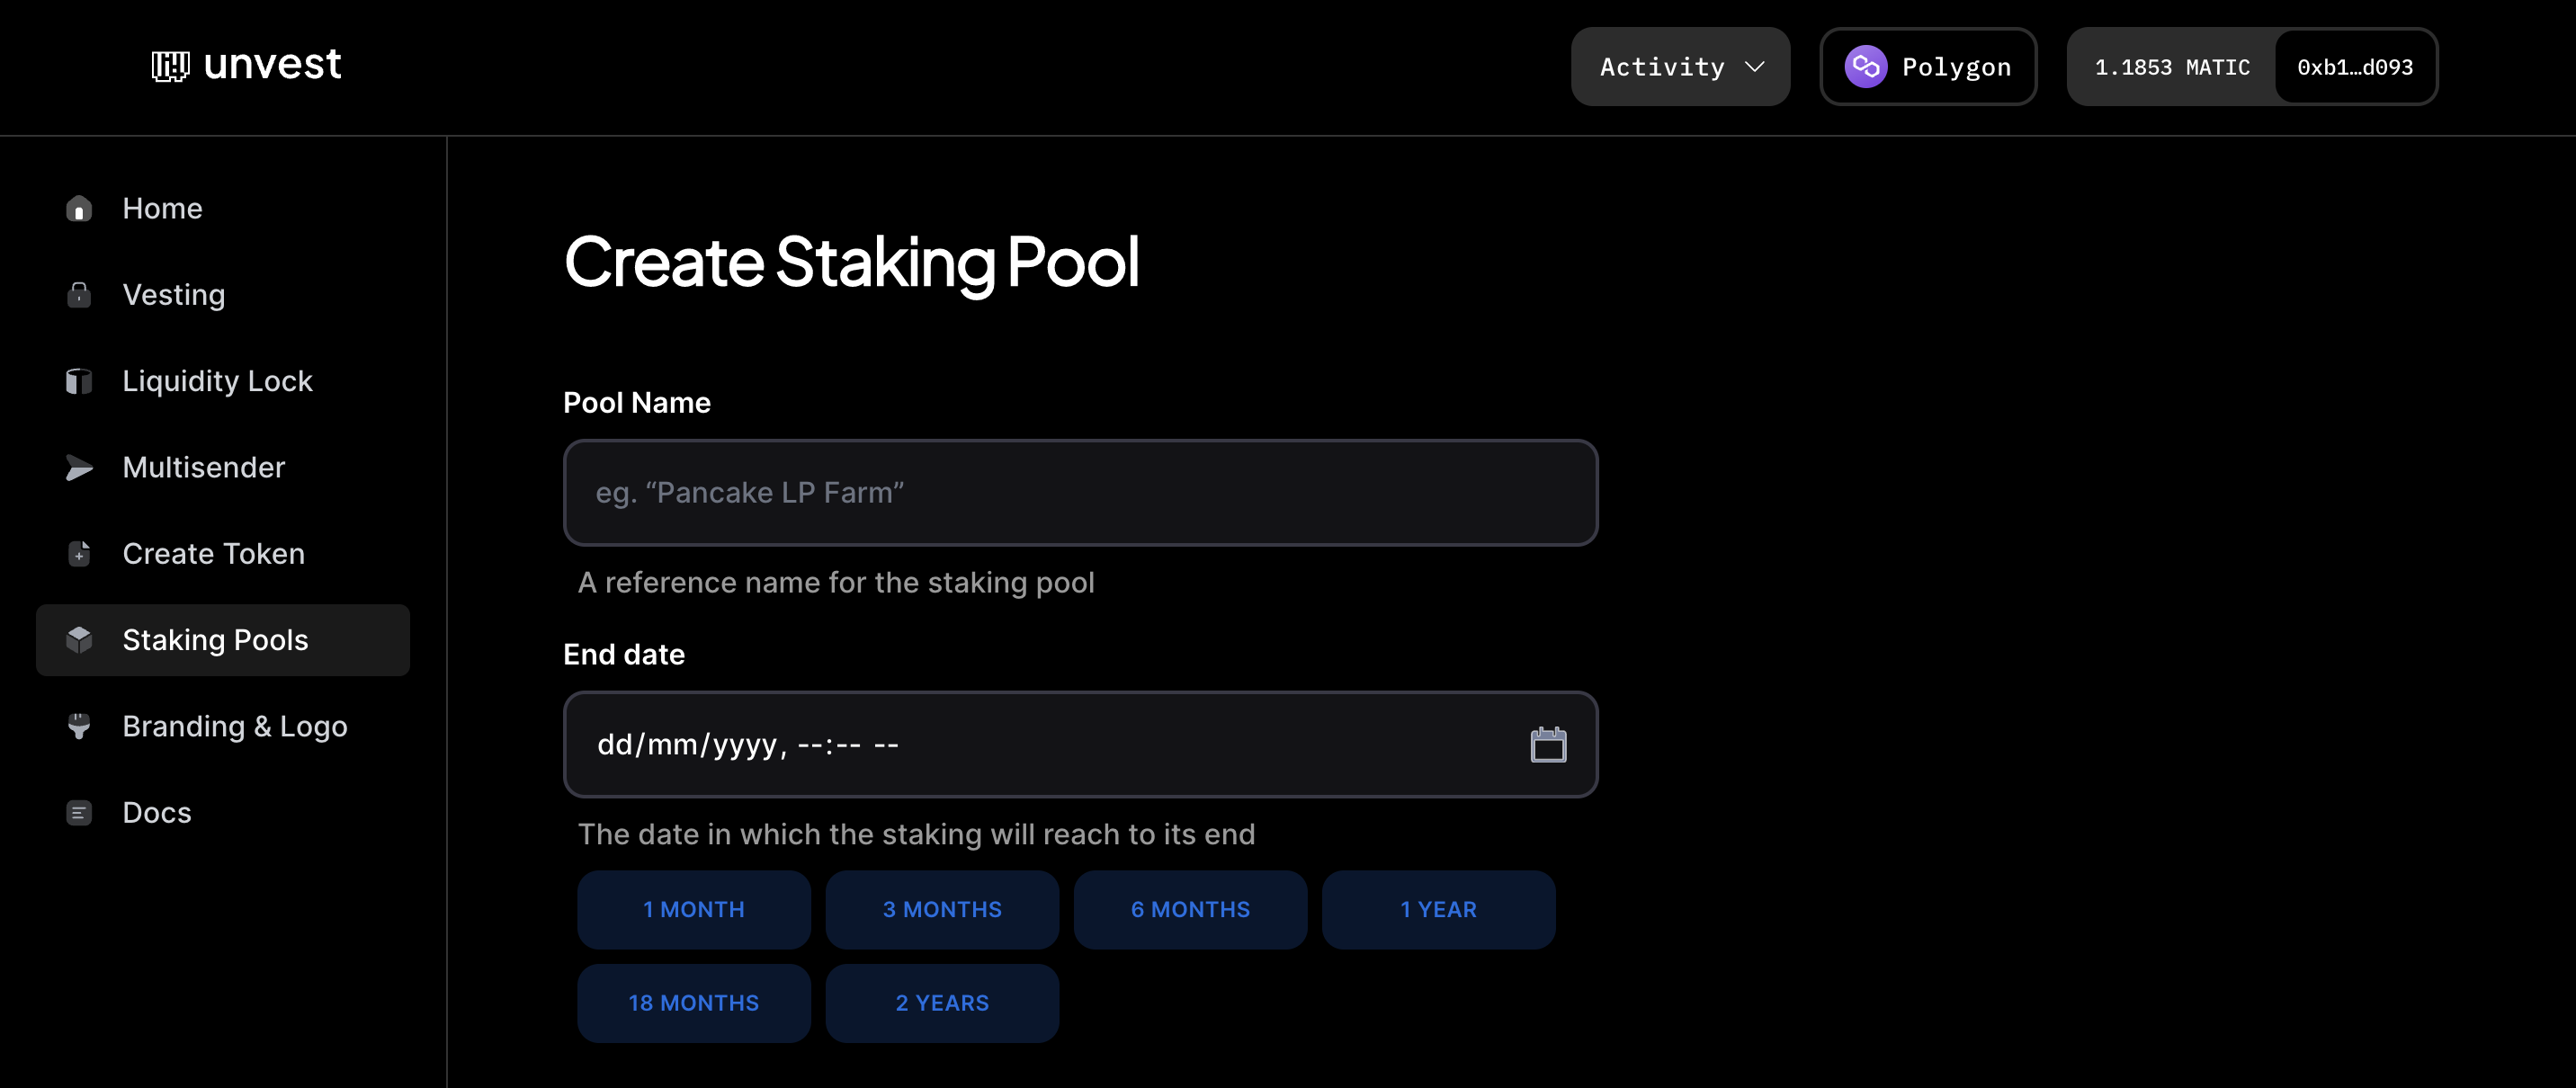
- In the “Pool Name” field, enter a reference name for the farming pool.
- In the “End Date” field, select the date in which the farming pool will reach its end. You can choose from a variety of options, including 1 month, 3 months, 6 months, 1 year, 18 months, and 2 years - or enter a custom date.
- In the “Staking Token Address” field, enter the address of the liquidity pool’s Uniswap V2 LP token. This is the asset that users will need to deposit into the pool in order to participate. The process is the same for Quickswap, Pancakeswap, Pangolin, 1inch, Sushi and other ERC20 LP tokens.
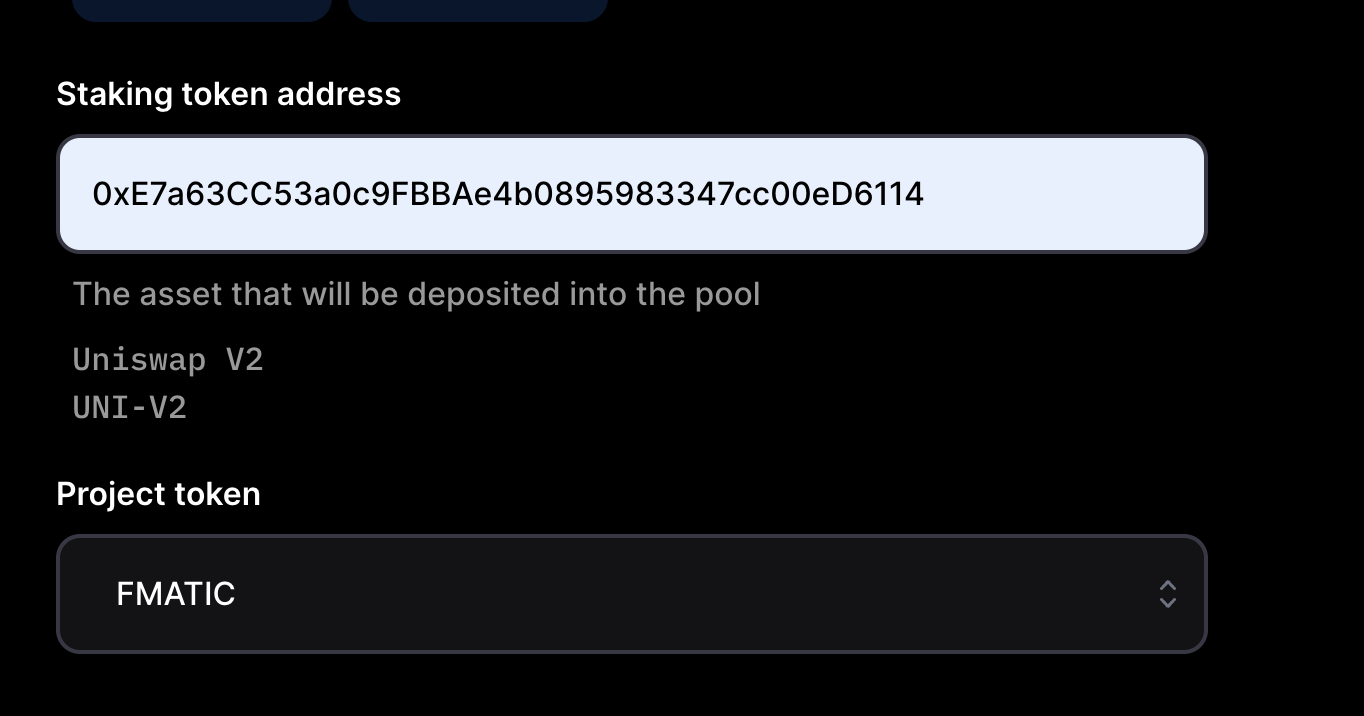
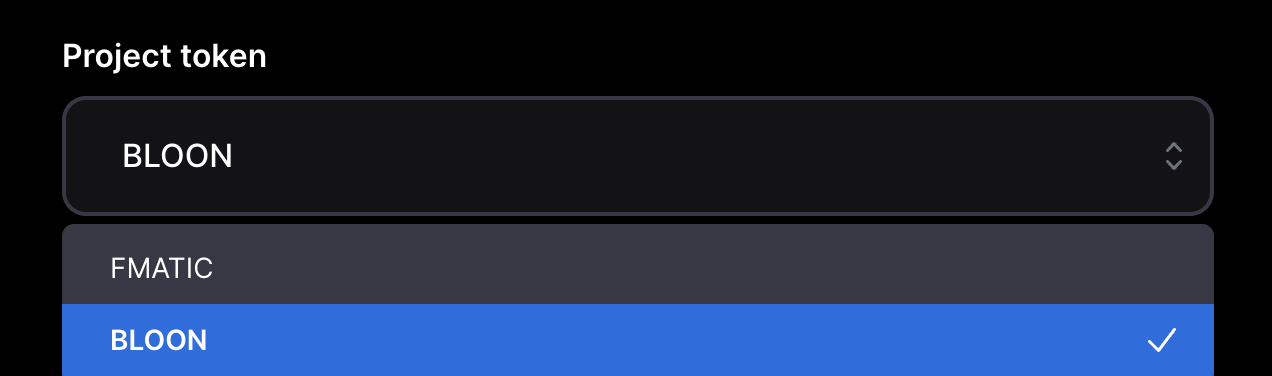
- Unvest will recognise the LP token, and a dropdown labeled “Project token” will appear, ensure you select your project token, so that your staking pool appears alongside other staking pools on your project’s Investor Dashboard.
- In the “Reward Token Address” field, enter the address of your project’s native token. This is the asset that users will receive in return for providing liquidity to the pool.
- In the “Total Rewards” field, enter the total number of rewards you want to distribute to participants in the farming pool.
- Click the “Create Pool” button to create the farming pool.
- You will be prompted to submit a transaction to the blockchain to create the farming pool. Make sure you have sufficient balance in your wallet to cover the gas fees for this transaction.
- Once the transaction has been successfully mined, the farming pool will be created and users will be able to participate by depositing the required staking token into the pool. They will earn rewards in your project’s native token according to the terms of the farming pool.
Staking & Farming Tutorials
Create a Uniswap v2 liquidity farming pool
In this tutorial, we will walk you through the process of creating a farming pool using Unvest.
A farming pool allows users to earn rewards by providing liquidity to a specific liquidity pool on a decentralized exchange. By setting your project’s native token as the reward token and the liquidity pool’s Uniswap V2 LP token as the staking token, you can encourage users to provide liquidity to your project’s liquidity pool and earn rewards in your native token.